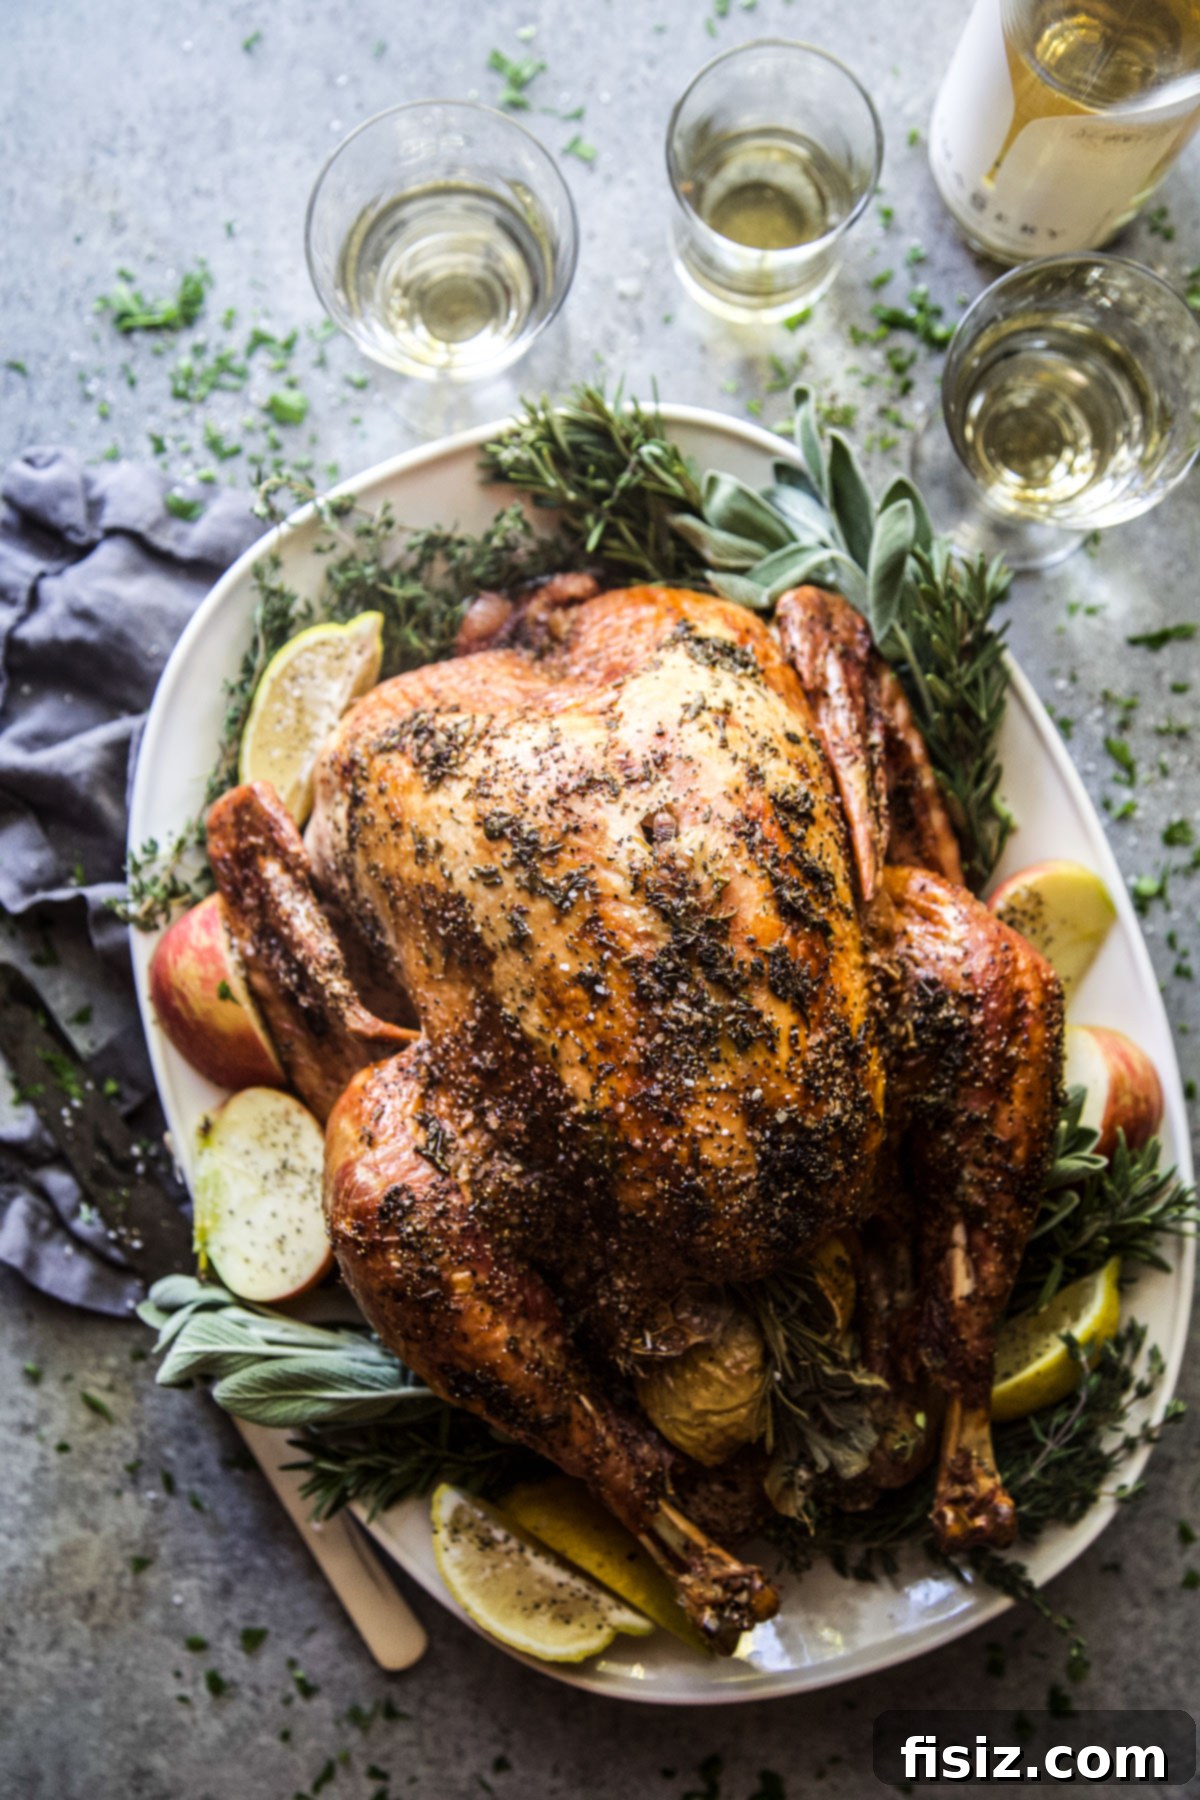
Easy Roasted Turkey with Herb Butter: Your Ultimate Thanksgiving Centerpiece
Transform your holiday table with this incredibly simple yet spectacular Roasted Turkey with Herb Butter. This recipe promises a turkey that’s not just a meal, but a show-stopping centerpiece, boasting golden, crispy skin and incredibly tender, juicy meat within. Infused with a fragrant herb butter and stuffed with fresh aromatic ingredients, this isn’t just a turkey; it’s the highlight of your festive celebration.
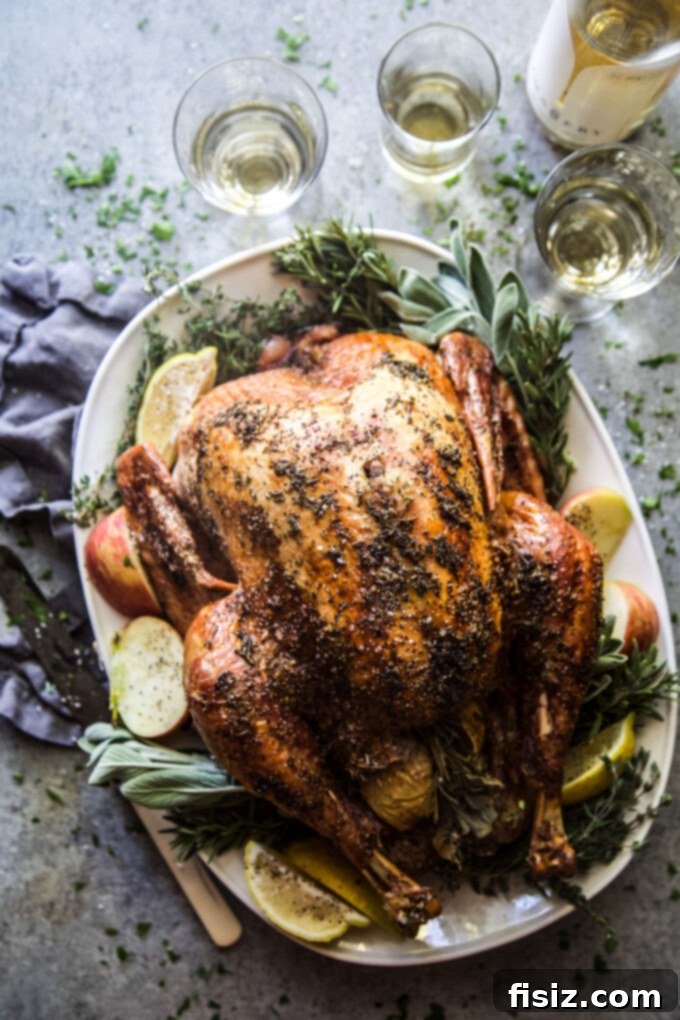
Embrace a Stress-Free Thanksgiving with This Flavorful Turkey
The thought of preparing a holiday feast can often feel overwhelming, but it doesn’t have to be. This Thanksgiving, imagine a celebration where you’re not chained to the kitchen, but instead creating cherished memories with family and friends. The secret lies in smart preparation and choosing the right recipes. Our Herb Butter Turkey recipe is designed for exactly this purpose: ease, elegance, and unforgettable flavor, ensuring your holiday is blissful and relaxed.
Crafting a show-stopping turkey doesn’t require culinary acrobatics. This straightforward approach to roasting delivers a bird that’s not only easy to prepare but also bursting with the quintessential flavors of the season. We’ve perfected a method that requires minimal fuss but yields maximum taste, making it the ideal choice for both novice and experienced cooks. From selecting the perfect bird to the final glorious carve, we’ll guide you through every step to ensure a succulent and aromatic turkey that will impress everyone at your table.
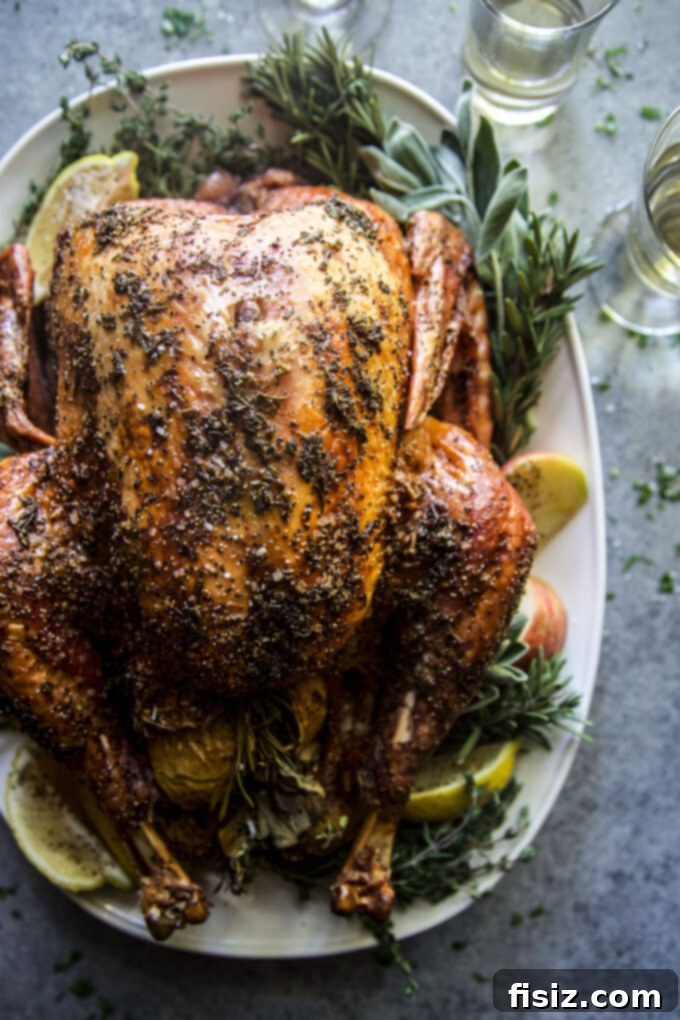
Essential Ingredients for Your Perfect Herb Butter Turkey
The foundation of any great dish lies in its ingredients. For this stellar roasted turkey, a few carefully selected components come together to create a symphony of flavors and textures.
- The Star of the Show: The Turkey. Your turkey is the centerpiece, so choosing wisely is crucial.
- Selection: Look for a plump hen turkey if possible. While often smaller, hen turkeys tend to have more tender flesh. Always check the packaging for tears or holes to avoid freezer burn, especially with frozen birds.
- Size Matters: Plan for approximately 1 to 1.5 pounds of turkey per person to ensure ample servings and delicious leftovers. A 12-pound turkey typically serves 8-10 people. Don’t forget to measure your oven to confirm your turkey will fit comfortably!
- Fresh vs. Frozen: Fresh turkeys often offer slightly better flavor and texture, but frozen turkeys are perfectly acceptable and more widely available. Just ensure you allow adequate time for thawing.
- Aromatic Foundation: The Herbs. The classic trio of fresh rosemary, thyme, and sage is indispensable for holiday cooking.
- Flavor Profile: These earthy, aromatic herbs complement the rich flavor of turkey beautifully. We use them both within the turkey cavity and generously mixed into the butter for maximum flavor infusion throughout the bird.
- Fresh is Best: While dried herbs can be used in a pinch, fresh sprigs will impart a more vibrant and potent aroma and taste, truly elevating your dish.
- Flavor and Moisture: The Stuffing (Cavity Fillers). Beyond traditional bread stuffing, what you place inside the turkey cavity plays a significant role in infusing flavor and retaining moisture.
- Sweet & Tart: Sliced apples add a delightful sweetness and a hint of tartness, along with a pleasant textural contrast.
- Savory & Bright: Onions and lemon wedges contribute savory depth and a bright, acidic lift that cuts through the richness of the turkey, creating a more balanced and exciting flavor profile.
- Garlic Power: Whole garlic cloves, gently bruised, release their pungent, aromatic oils, permeating the turkey with irresistible savoriness.
- The Golden Elixir: The Butter. High-quality butter is key to that coveted crispy skin and moist meat.
- Unsalted Butter: We recommend using unsalted butter to maintain control over the seasoning. If salted butter is all you have, simply reduce or omit the added salt in the herb butter mixture and adjust to taste.
- Room Temperature: Ensure your butter is at room temperature for easy blending with the herbs and for smooth application onto and under the turkey skin.
Mastering the Preparation of Your Easy Roasted Turkey with Herb Butter
Once you’ve gathered your premium ingredients, the next crucial step is preparing your turkey for roasting. Proper pre-roasting preparation is the cornerstone of a perfectly cooked, juicy, and flavorful bird. Follow these essential tips to ensure your Thanksgiving turkey is truly the best it can be.
- Defrosting Done Right: If using a frozen turkey, begin thawing several days in advance. A general rule of thumb is 24 hours per 4-5 pounds of turkey in the refrigerator. For a 12-pound turkey, this means at least 3 days. Larger birds will require even more time, so plan accordingly to avoid any last-minute stress.
- Skip the Wash, Prevent Cross-Contamination: Contrary to popular belief, washing a raw turkey is not recommended. This practice can spread bacteria (like Salmonella) from the turkey to your sink, countertops, and other kitchen surfaces through splashing water. Rest assured, cooking the turkey to the proper internal temperature will eliminate 100% of any harmful bacteria.
- Brining? Not Necessary Here! While brining can add moisture, our herb butter method ensures an incredibly juicy turkey without the extra step. The fat in the butter, along with careful roasting, locks in moisture and infuses deep flavor, making brining entirely optional for this recipe.
- Achieve Even Cooking: Room Temperature is Key: Remove your turkey from the refrigerator at least one hour (or up to two hours for larger birds) before it goes into the oven. Allowing the turkey to come closer to room temperature ensures more even cooking throughout, preventing the outside from drying out before the inside is fully cooked.
- Clean Out the Cavities: Don’t forget to reach into both the neck and body cavities to remove the neck and giblets. These often come tucked inside and can be used to make a rich, flavorful gravy, or simply discarded if preferred.
- Pat It Dry for Crispy Skin: This step is simple but vital for achieving that desirable golden, crispy skin. Use paper towels to thoroughly pat down the entire surface of the turkey – inside and out. A dry surface allows the herb butter to adhere better and promotes browning, leading to an incredibly crispy exterior.
Time to Stuff and Secure!
Once your turkey is thoroughly prepped and pat dry, it’s time to infuse it with incredible flavor from the inside out. This simple stuffing method not only enhances the taste of the meat but also contributes to a wonderfully aromatic kitchen.
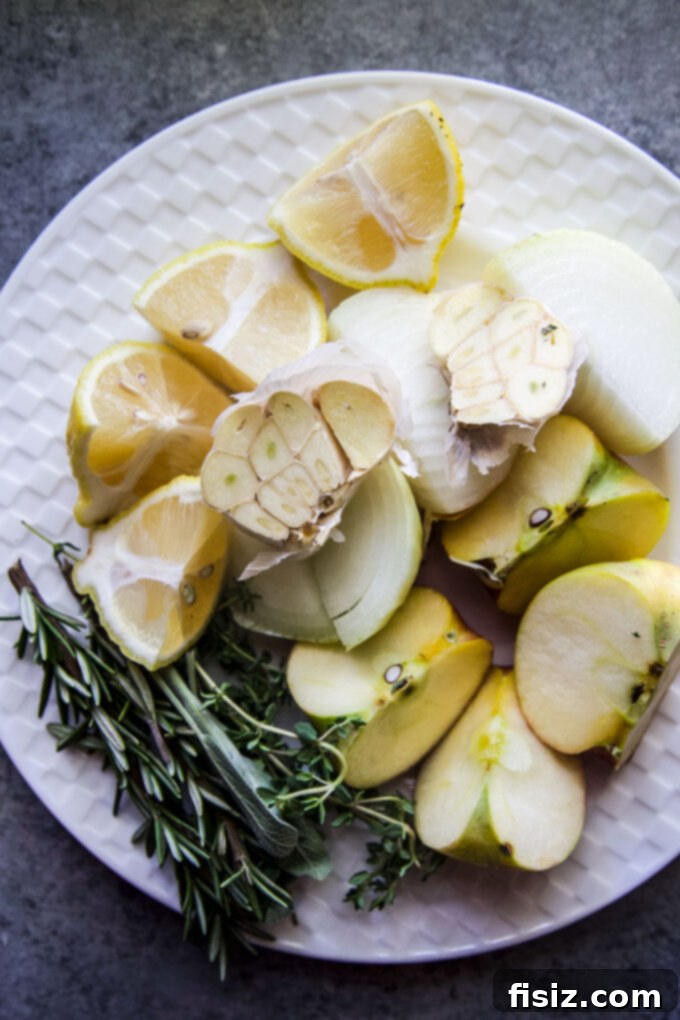
- Season and Stuff the Cavity: Begin by generously rubbing the inside cavity of the turkey with kosher salt and black pepper. Don’t be shy; use your hands to ensure the seasoning reaches every crevice. Then, carefully stuff the cavity with your chosen aromatics: quartered onion, halved lemon, quartered apple, halved garlic head, and fresh sprigs of rosemary, thyme, and sage. These ingredients will release their essential oils and juices as the turkey roasts, creating an internal basting effect. Remember to wash your hands thoroughly with soap and water afterward, or wear disposable gloves for this step.
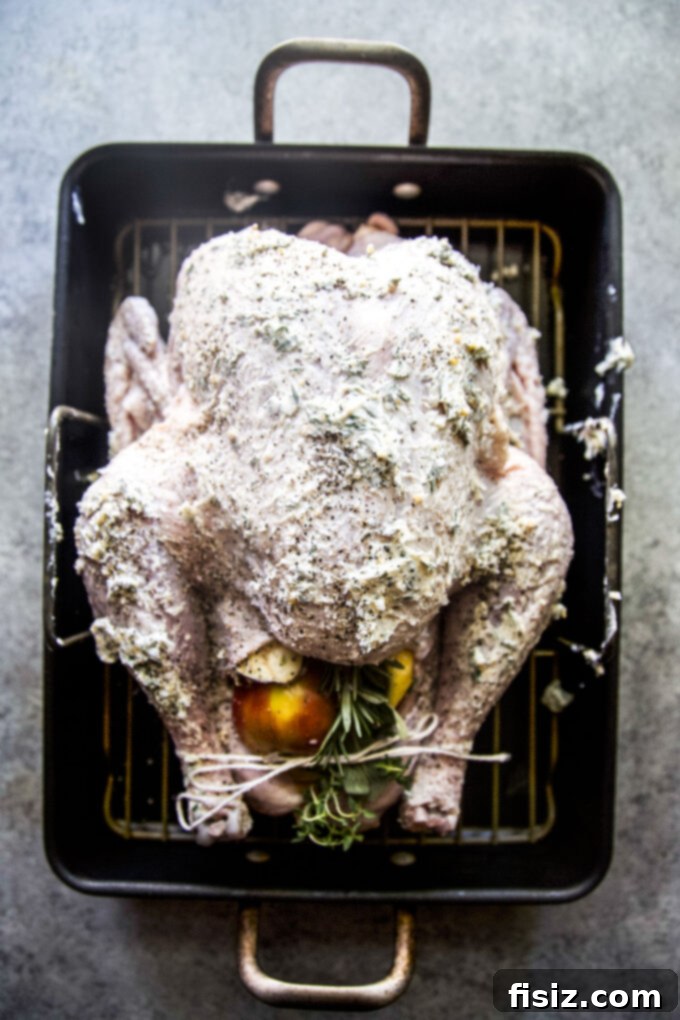
- Position in Roasting Pan: Place the stuffed turkey breast-side up in your roasting pan. A sturdy roasting rack helps elevate the turkey, allowing air to circulate and promoting even cooking and crispy skin all around.
- Budget-Saving Tip: You don’t need an expensive, heavy-duty roasting pan. A disposable foil roasting pan from your local supermarket works perfectly and makes cleanup a breeze – simply toss it away when you’re done!
- Tie and Tuck for Perfect Presentation: Use kitchen twine to tie the turkey legs together. This helps keep the stuffing securely inside the cavity and ensures the turkey cooks more uniformly. Additionally, tuck the wing tips underneath the turkey body. This prevents them from burning and helps maintain the turkey’s shape, resulting in a beautifully presented bird.
Crafting the Irresistible Herb Butter
The herb butter is the secret weapon in this recipe, responsible for the turkey’s golden, crispy skin and the deeply infused flavor throughout the meat. It’s incredibly simple to prepare but delivers truly remarkable results.
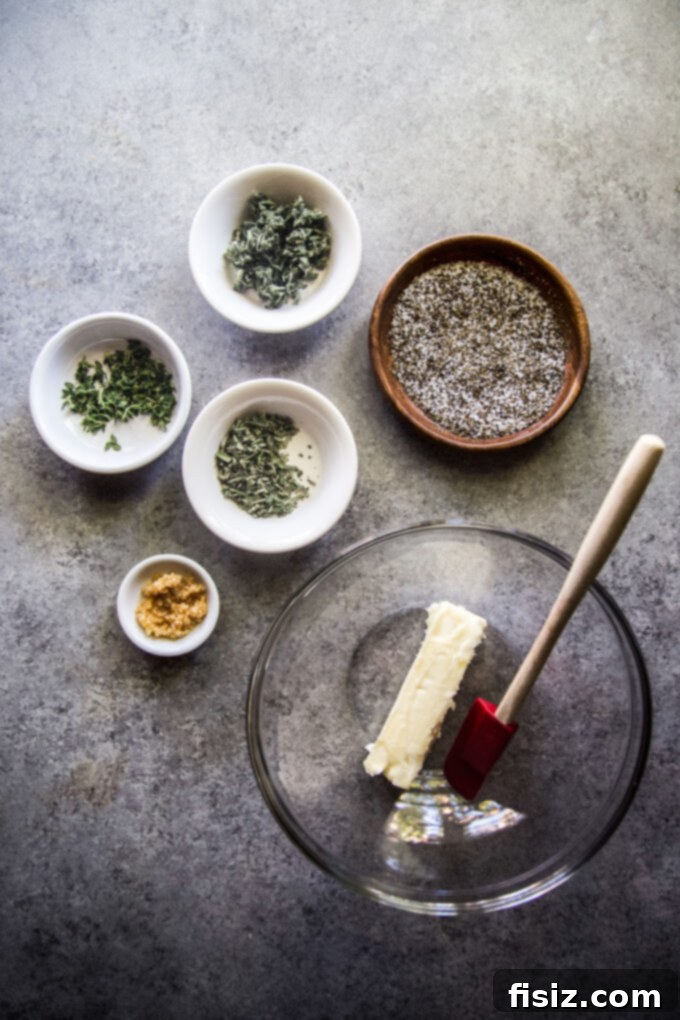
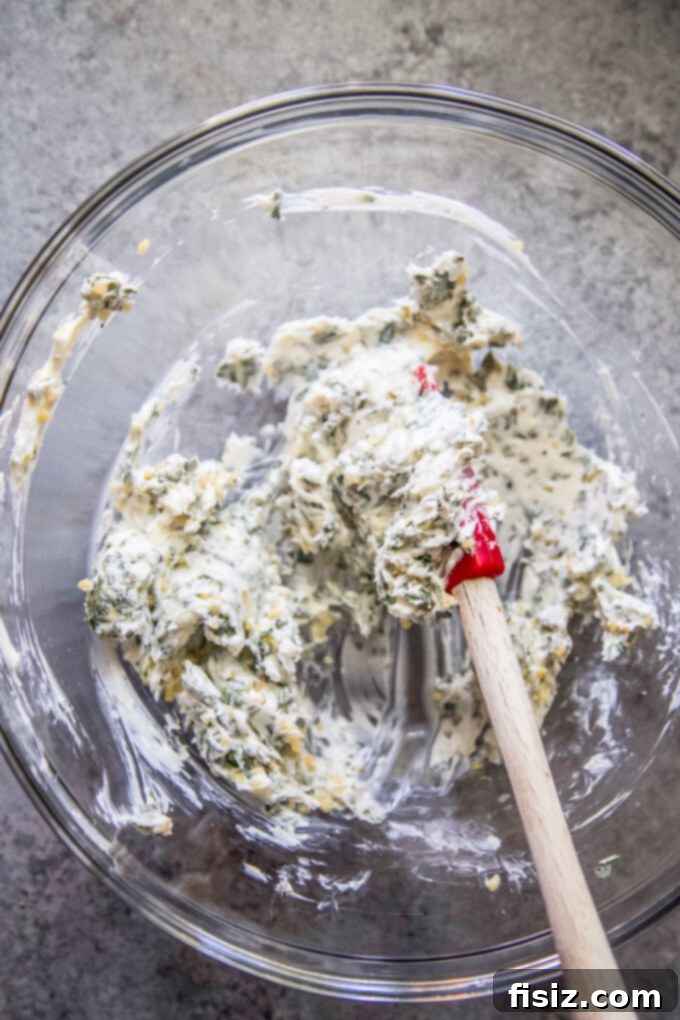
- Combine the Ingredients: In a medium bowl, combine softened unsalted butter with finely chopped fresh rosemary, thyme, and sage. Add minced garlic cloves, kosher salt, and freshly ground black pepper. Mix everything together thoroughly until the herbs and seasonings are evenly distributed throughout the butter.
- The Key to Maximum Flavor: Under the Skin Application: This is where the magic happens! Gently use your fingers to carefully loosen and lift the skin covering the turkey breasts. Work slowly and patiently, as the breast skin is delicate and prone to tearing. Once a pocket is created, take several tablespoons of the herb butter and carefully spread it evenly beneath the skin, directly over the breast meat. This direct contact allows the butter to melt into the meat as it roasts, keeping it incredibly moist and flavorful from the inside.
- External Coating for Golden Crispy Skin: For the remaining herb butter, gently warm it slightly in the microwave for about 30 seconds until it’s easily spreadable or melted. Use a basting brush to generously coat the entire outside surface of the turkey – breasts, legs, and wings. This outer layer of butter will help the skin achieve that beautiful golden-brown color and irresistible crispiness.
- Versatility of Herb Butter: Don’t limit this amazing herb butter to just turkey! It’s fantastic with other roasted meats like chicken or salmon, or simply spread it on warm crusty bread for a delightful appetizer.
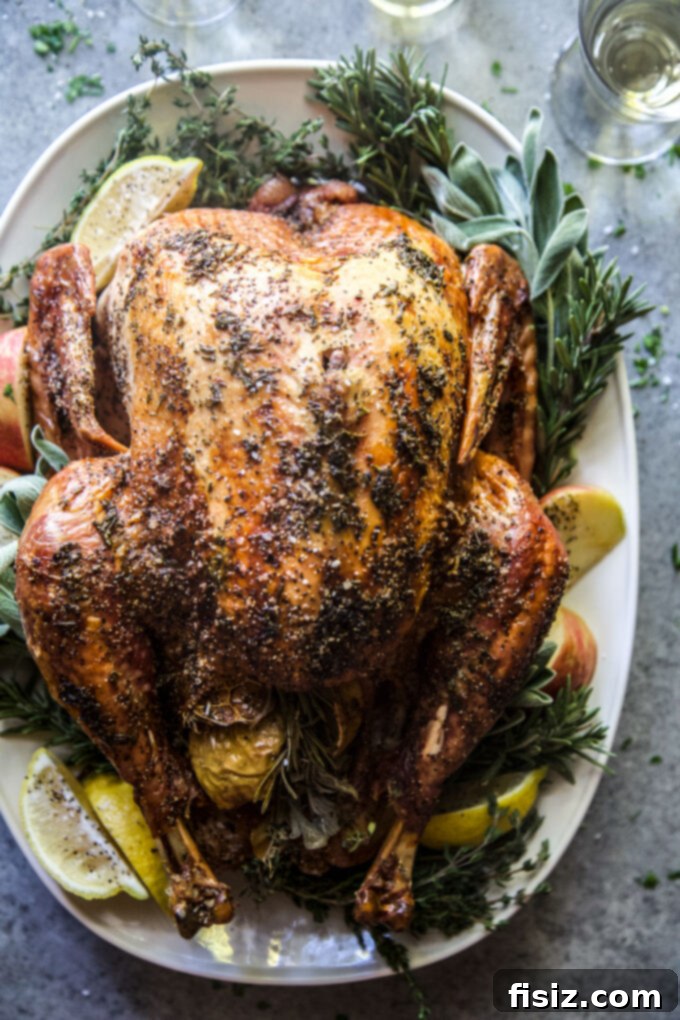
Roasting Turkey: The Essential Do’s and Don’ts for Perfection
With your turkey prepped and buttered, it’s time for the oven. Following these key roasting guidelines will ensure your turkey cooks perfectly, resulting in tender, juicy meat and wonderfully crisp skin every time.
- DO Preheat Your Oven and Adjust Rack: Set your oven to 325°F (160°C). Make sure the oven rack is positioned low enough to accommodate the turkey in its roasting pan without touching the top heating element or the roof of the oven.
- DON’T Cook Stuffing Separately (If Inside the Bird): If you’re stuffing the cavity with bread-based stuffing (not just aromatics as in this recipe), understand that it will cook inside the turkey. There’s no need to bake it separately. However, for food safety, the stuffing inside the turkey must also reach 165°F (74°C).
- DO Use a Reliable Meat Thermometer: This is your most critical tool! To ensure your turkey is safely cooked and perfectly juicy, insert a meat thermometer into the thickest part of the thigh (without touching the bone) and the thickest part of the breast. The turkey is safe to eat when both areas reach an internal temperature of 165°F (74°C).
- DO Remove Turkey at 160°F (71°C): For optimal juiciness, remove the turkey from the oven when the thermometer reads about 160°F (71°C). The internal temperature will continue to rise by 5-10 degrees (known as carryover cooking) while the turkey rests, bringing it to the safe 165°F (74°C).
- DON’T Baste Frequently: Resist the urge to constantly open the oven door to baste. Each time the oven door is opened, the internal temperature drops significantly, extending the cooking time and potentially drying out the turkey. The herb butter applied liberally before roasting provides sufficient moisture and flavor.
- DO Tent with Foil for Even Browning: If your turkey skin is browning too quickly, or about halfway through the roasting time, loosely tent a piece of aluminum foil over the breast. This will protect the delicate breast meat from overcooking and prevent the skin from burning while the rest of the turkey finishes roasting.
- DO Let the Turkey Rest: This is perhaps the most crucial step for a juicy turkey! After removing it from the oven, let the turkey rest uncovered or loosely tented with foil for at least 20-30 minutes before carving. Resting allows the muscle fibers to relax and reabsorb the juices, ensuring every slice is incredibly moist and flavorful.
- DON’T Discard Pan Drippings: Those flavorful drippings at the bottom of your roasting pan are liquid gold! They are the foundation for a truly spectacular homemade gravy that will perfectly complement your roasted turkey.
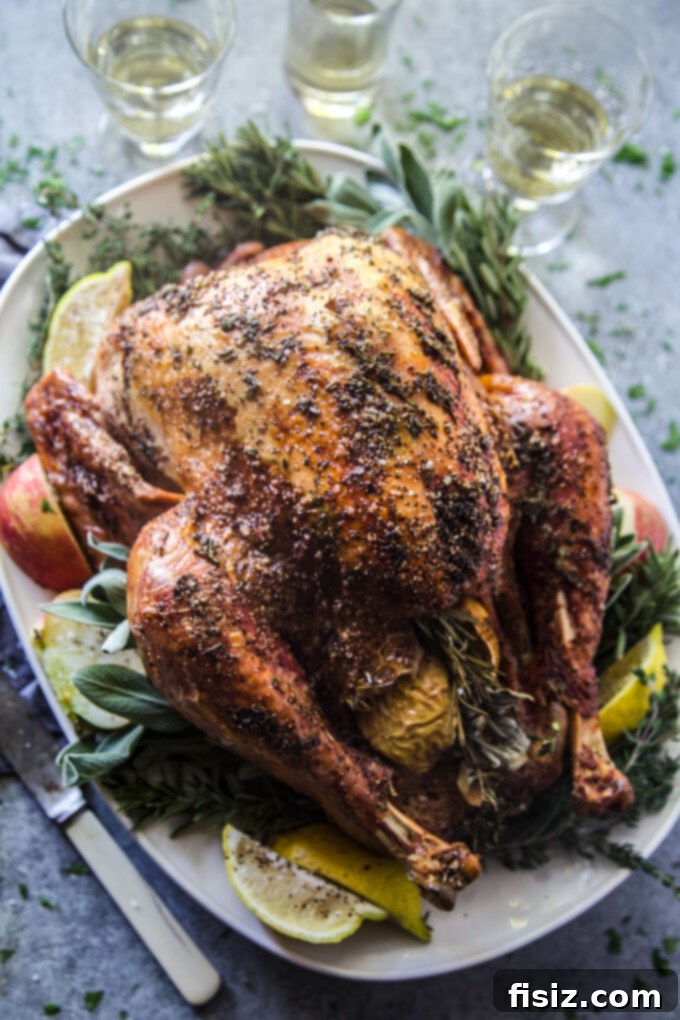
Serving Your Easy Roasted Turkey with Herb Butter: A Feast to Remember
Once your magnificent herb butter turkey has rested, it’s time for the grand finale: carving and serving! Presenting your perfectly roasted turkey is an art, and pairing it with complementary sides will complete your unforgettable holiday meal.
Carefully carve the turkey, arranging the tender slices beautifully on a large serving platter. Garnish with fresh herb sprigs (like rosemary or thyme) and perhaps a few cranberries or orange slices for a festive touch. The vibrant colors will make your turkey truly shine!
To make your holiday hosting even smoother, consider preparing these Oven-less Thanksgiving Sides. By choosing side dishes that don’t require oven space, you can efficiently cook your entire meal simultaneously, freeing up precious oven real estate for your star turkey. This brilliant strategy means more time for you to perfect your holiday outfit, enjoy a celebratory glass of bubbly, and truly savor the company of your loved ones.
From our kitchen to yours, we wish you a truly Happy Thanksgiving, filled with warmth, joy, and the delicious aroma of your perfectly roasted herb butter turkey!
Easy Roasted Turkey with Herb Butter
Yield: 12 servings
Prep Time: 1 hour
Cook Time: 3 hours 30 minutes
Total Time: 4 hours 30 minutes
This easy Roasted Turkey with Herb Butter will be the ultimate centerpiece of your Thanksgiving table! Stuffed with fresh fruits and herbs, generously coated with herb-infused butter, then roasted until the skin is golden crisp and the inside tender and juicy!
Print Recipe
Pin Recipe
No ratings yet Leave a Review »
Ingredients
- For the roasted turkey:
- 1 (10 to 12 lb) Whole turkey
- 1 large Yellow onion, quartered
- 1 head Garlic, halved crosswise
- 1 large Apple, quartered
- 1 large Lemon, halved
- 2 sprigs Rosemary
- 2 sprigs Thyme
- 2 sprigs Sage
- Kosher salt and pepper to taste
- For the herb butter:
- 1/2 cup Unsalted butter, room temperature
- 1 tsp Kosher salt
- 1 tsp Ground pepper
- 4 cloves Garlic, minced
- 1 sprig Rosemary, finely chopped
- 1 sprig Thyme, finely chopped
- 1 sprig Sage, finely chopped
Instructions
- Remove the thawed turkey from the fridge at least 1 hour before roasting to let it come to room temperature.
- Next, adjust the rack of your oven to accommodate the turkey in the roasting pan. Preheat your oven to 325 degrees F (160 C).
- While the oven is coming to temperature, make the herb butter. Combine the unsalted butter, kosher salt, pepper, minced garlic cloves, finely chopped rosemary, thyme, and sage in a medium bowl. Mix well.
- Remove the turkey from the packaging, and remove the neck and giblets from inside the cavities. You can reserve them for gravy or discard them. Using a paper towel, pat the whole turkey thoroughly dry.
- Season the cavity of the turkey generously with kosher salt and pepper. Then stuff the cavity with the quartered onion, halved lemon, quartered apple, halved garlic head, and fresh sprigs of rosemary, thyme, and sage. Set the turkey in a roasting pan, breast side up. Using kitchen twine, tie the legs together. Tuck the wing tips underneath the turkey body.
- Take your fingers and begin to gently loosen and lift the skin above the breasts, creating a pocket. Once loosened, take a few tablespoons of the herb butter and carefully spread it smoothly under the skin, directly over the breast meat. Next, microwave the remaining herb butter for about 30 seconds on high until softened or melted. Take a basting brush and brush the softened herb butter all over the outside of the turkey, including the legs and wings, ensuring a generous, even coating.
- The turkey is now ready for the oven! Roast the turkey for approximately 15 minutes per pound, or until a meat thermometer inserted into the thickest part of the middle thigh and breast (without touching bone) reaches 165 degrees F (74 C). If the top of the turkey begins to brown too quickly, loosely tent it with aluminum foil halfway through cooking to prevent burning.
- Pro tip: For the juiciest turkey, remove it from the oven when the internal temperature reaches 160 degrees F (71 C). The turkey will continue to cook and reach the safe temperature of 165 degrees F (74 C) while it rests on the counter (this is called carryover cooking). Allow the turkey to rest for at least 20 to 30 minutes prior to carving. Once cool enough to handle, simply carve and arrange the turkey slices on a serving platter. Be sure to reserve any pan drippings and juices to make a delicious homemade turkey gravy!
Author: Lauren Grier
Course: Dinner
Cuisine: American
Did you make this recipe? Please leave a comment below and share a photo on Instagram with the hashtag #thecuriousplate!