
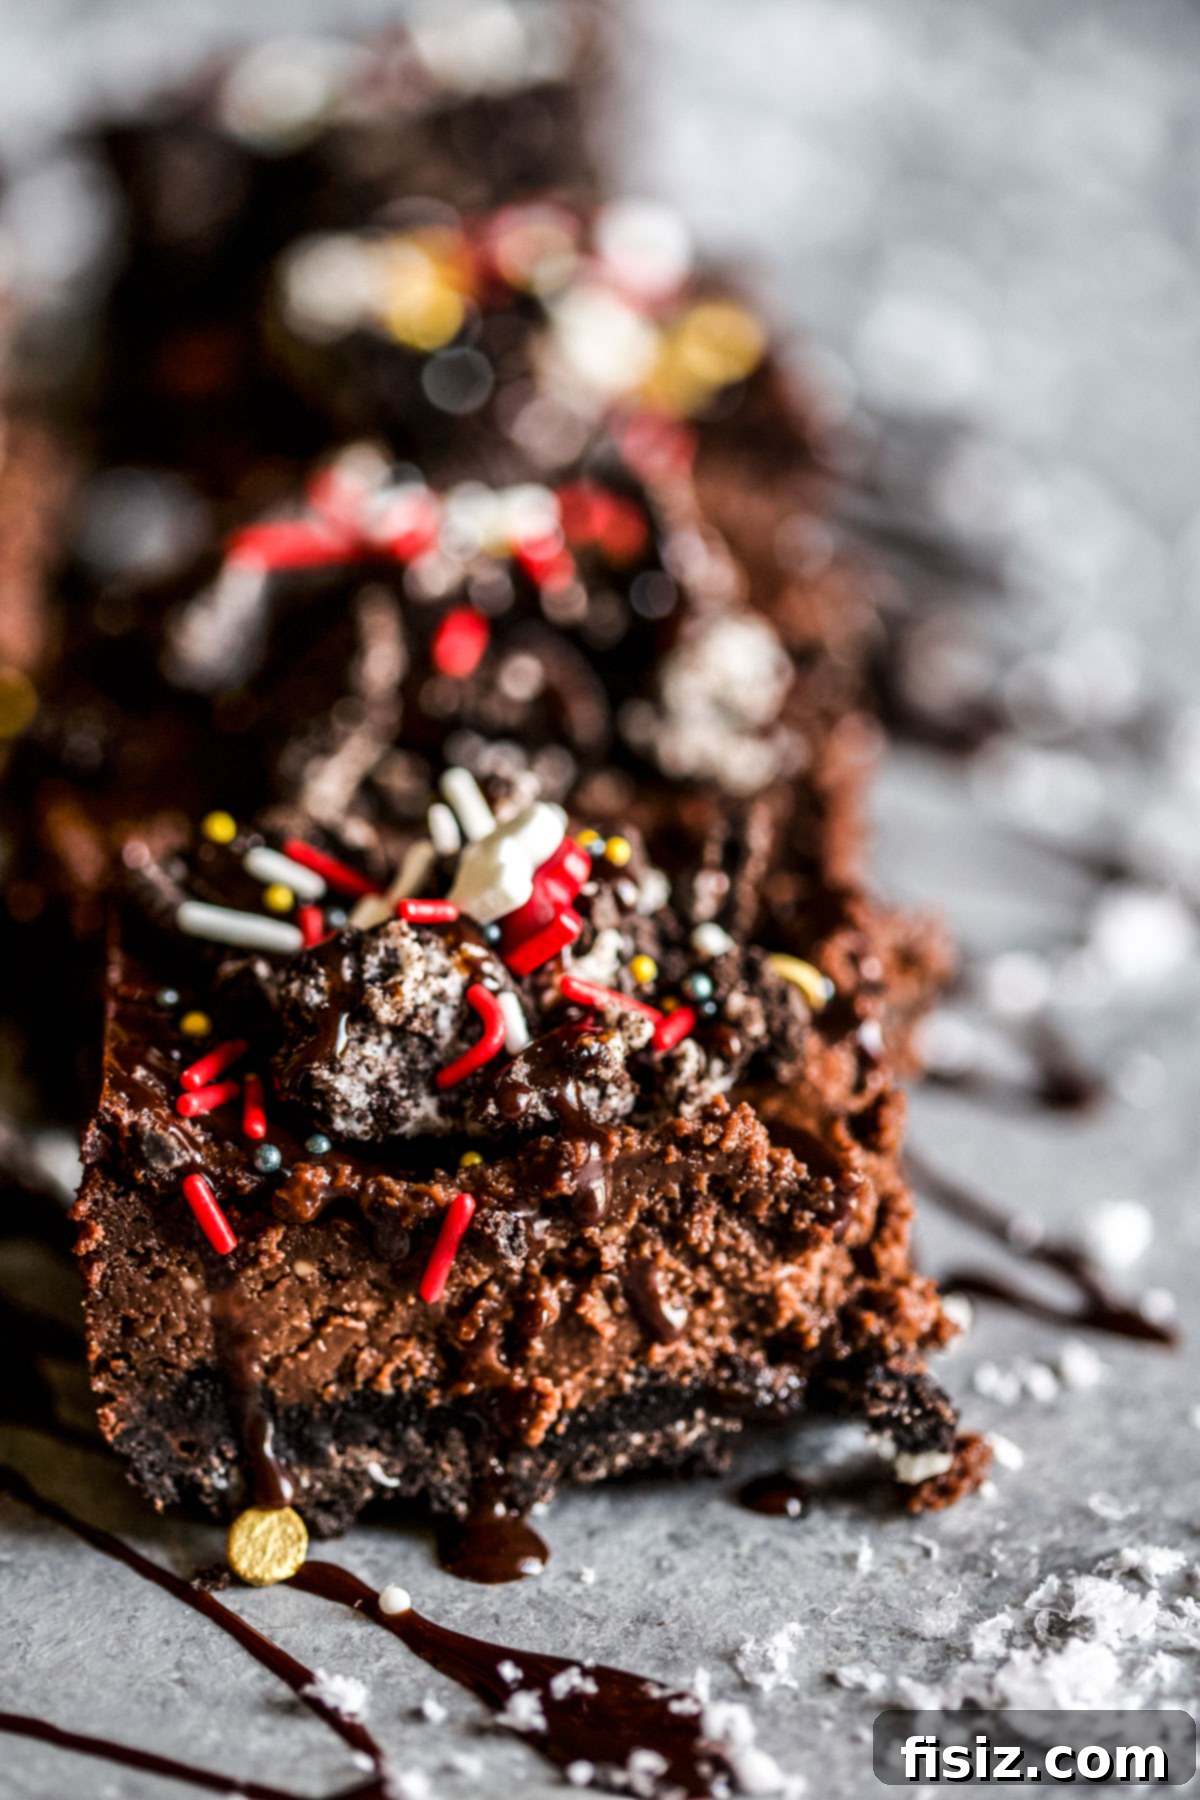
Indulge in the ultimate winter delight with these exquisite Hot Cocoa Cheesecake Bars! Imagine a dessert where the comforting warmth of your favorite hot chocolate drink meets the luscious richness of a creamy cheesecake. Nestled atop a crisp, buttery Oreo cookie crust, each bar features a decadent cheesecake filling, generously swirled with gooey hot fudge sauce. Every bite is an enchanting symphony of flavors and textures, enhanced by crunchy Oreo bits, making these bars the quintessential treat for the holiday season and beyond. Perfect for gatherings, cozy evenings, or simply satisfying a sweet craving, these Hot Cocoa Cheesecake Bars are poised to become your new favorite festive dessert.
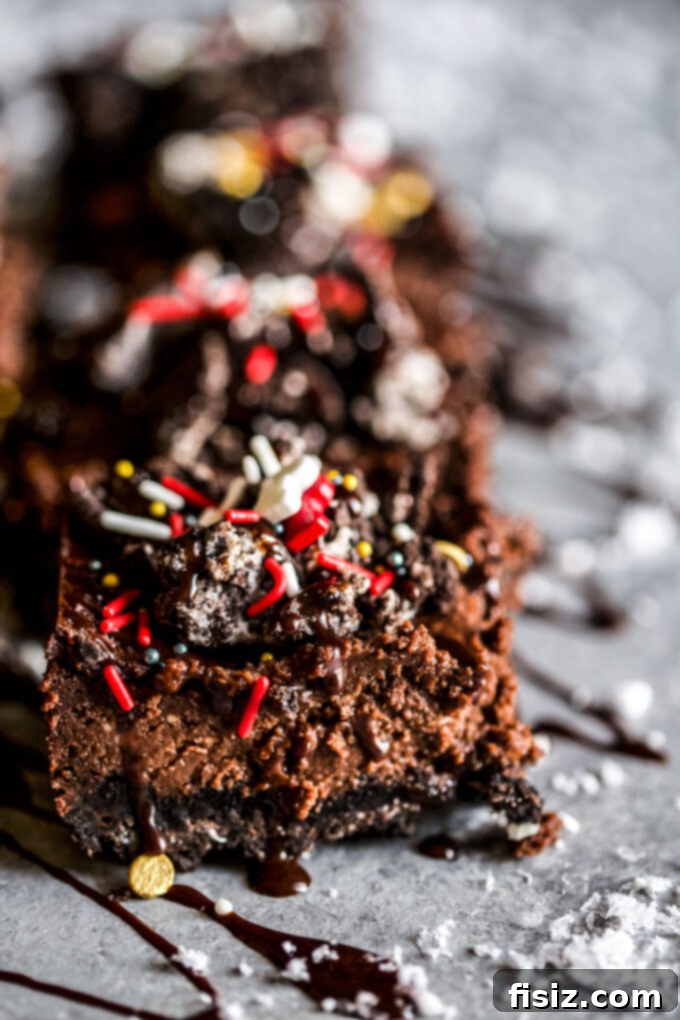
Unveiling the Ultimate Winter Indulgence: Hot Cocoa Cheesecake Bars
As the days grow shorter and the air turns crisp, there’s nothing quite as comforting as a steaming mug of hot cocoa. But what if you could transform that beloved beverage into an even more decadent, spoon-worthy dessert? These Hot Cocoa Cheesecake Bars do just that, offering a unique twist on classic cheesecake that captures the essence of hot chocolate in every glorious layer. They’re a celebration of rich chocolate, velvety cream cheese, and the playful crunch of America’s favorite cookie, the Oreo. This recipe isn’t just about baking; it’s about crafting an experience, a delightful moment that brings joy to both young and old.
From Kitchen Novice to Cheesecake Enthusiast: My Culinary Journey
For many years, cheesecake felt like a culinary Everest – a daunting challenge best left to professional bakers. My initial forays into the world of cheesecakes were cautious, but my Breakfast Cheesecakes with Lemon Greek Yogurt and Fresh Berries proved to be a surprisingly delightful success, igniting a newfound passion. That experience boosted my confidence, inspiring me to explore more elaborate variations. This time, I envisioned a winter-themed dessert that married the nostalgic comfort of hot cocoa with the luxurious texture of cheesecake. The result? These irresistible hot cocoa cheesecake bars! They perfectly satisfy that craving for a warm, comforting treat, but in a more indulgent, sliceable form. I can confidently say these dessert bars are a guaranteed hit with everyone – from the pickiest little eaters to the most discerning adult palates.
Effortless Elegance: Crafting Easy Hot Cocoa Cheesecake Bars
Don’t let the sophisticated appearance of these Hot Cocoa Cheesecake Bars fool you – they are remarkably simple to make, making them an ideal choice for both seasoned bakers and beginners. The entire hands-on preparation for the 3-ingredient cookie crust and the luscious chocolate-flavored cheesecake filling took me less than 15 minutes. The majority of the process involves patiently waiting for them to bake to perfection in the oven and then chilling in the refrigerator until firm. This “set it and forget it” aspect makes them incredibly convenient for busy individuals. You can easily whip up the batter in minutes, then let the oven and fridge do the hard work while you focus on other tasks or enjoy your day. For ultimate convenience, these bars can be prepared a day in advance and left to set overnight in the refrigerator, ensuring they’re perfectly chilled and ready to serve when you are.
Essential Ingredients for Your Perfect Hot Cocoa Cheesecake Bars
Creating these heavenly cheesecake bars from scratch utilizes mostly standard baking ingredients that you likely already have stashed in your pantry. The few specialty items you might need to pick up are Oreos, quality cream cheese, and a ready-made hot fudge sauce. Focusing on good quality ingredients, especially for the cream cheese and cocoa powder, will significantly elevate the final taste and texture of your homemade dessert.
For the Irresistible Oreo Cookie Crust:
- Oreo Cookies: The foundation of this incredible dessert. You can either purchase whole Oreo sandwich cookies and crush them finely using a heavy kitchen tool like a rolling pin or a food processor for a perfectly uniform crumb. Alternatively, to save time and effort, many stores offer pre-crushed Oreo crumbs, which work just as wonderfully. The fine crumbs create a compact, flavorful base.
- Unsalted Butter: Melted butter acts as the binding agent for the cookie crumbs, creating a firm and flavorful crust. I specifically recommend unsalted butter to maintain control over the overall saltiness of the crust. If salted butter is all you have on hand, you can certainly use it, but omit the additional kosher salt from the crust recipe.
- Kosher Salt: A tiny pinch of kosher salt is added to the crust to enhance the sweetness of the Oreos and balance the richness of the butter. It subtly elevates the flavors without making the crust taste salty.
For the Rich and Creamy Hot Cocoa Cheesecake Filling:
- Cream Cheese Bars: The star of any cheesecake, ensure your cream cheese is softened to room temperature before mixing. This is crucial for achieving a smooth, lump-free, and velvety cheesecake texture. Any good quality brand will work, but a premium brand often yields a superior result.
- Sugars (Granulated and Brown): The combination of both granulated sugar and brown sugar is key to the cheesecake filling’s perfect balance. Granulated sugar provides clean sweetness, while brown sugar adds a delightful caramel note and extra moisture, which helps to counteract any potential bitterness from the cocoa powder and contributes to a richer, more complex flavor profile and a smoother texture.
- Cocoa Powder: For the most intense chocolate flavor and a deep, appealing color, I highly recommend using an unsweetened Dutch-process cocoa powder. Dutch-processed cocoa has a milder, less acidic taste and creates a darker hue, perfectly emulating a rich hot cocoa.
- Large Eggs: Eggs serve multiple essential functions in a cheesecake. They act as a binder, holding all the ingredients together, and contribute to a richer flavor and the characteristic smooth, custard-like texture of a well-made cheesecake. They also help prevent the cheesecake from cracking during baking.
- Pure Vanilla Extract: A touch of pure vanilla extract is indispensable in any chocolate dessert. It provides a warm, aromatic complement to the chocolate, enhancing its depth and adding a lovely fragrant note to the filling.
- Kosher Salt: Just a pinch of kosher salt in the filling helps to brighten and highlight the complex chocolate and vanilla flavors, preventing the cheesecake from tasting flat and ensuring a perfectly balanced sweetness.
- Hot Fudge Sauce: For ultimate convenience and a truly gooey texture, a good quality store-bought, ready-to-use hot fudge sauce is ideal for swirling into the cheesecake batter and for drizzling on top. If you’re feeling ambitious, a homemade chocolate ganache can be used as a delicious alternative, offering a slightly different but equally delightful richness.
Mastering the Art of Hot Cocoa Cheesecake Bars: A Step-by-Step Guide
Creating these bakery-quality cheesecake bars in your own kitchen is much simpler than you might imagine. The process is broken down into easily manageable steps: preparing the crust, whipping up the decadent filling, baking to perfection, and finally, chilling to achieve that signature cheesecake texture. Follow these detailed instructions, and you’ll be enjoying your homemade hot cocoa masterpiece in no time!
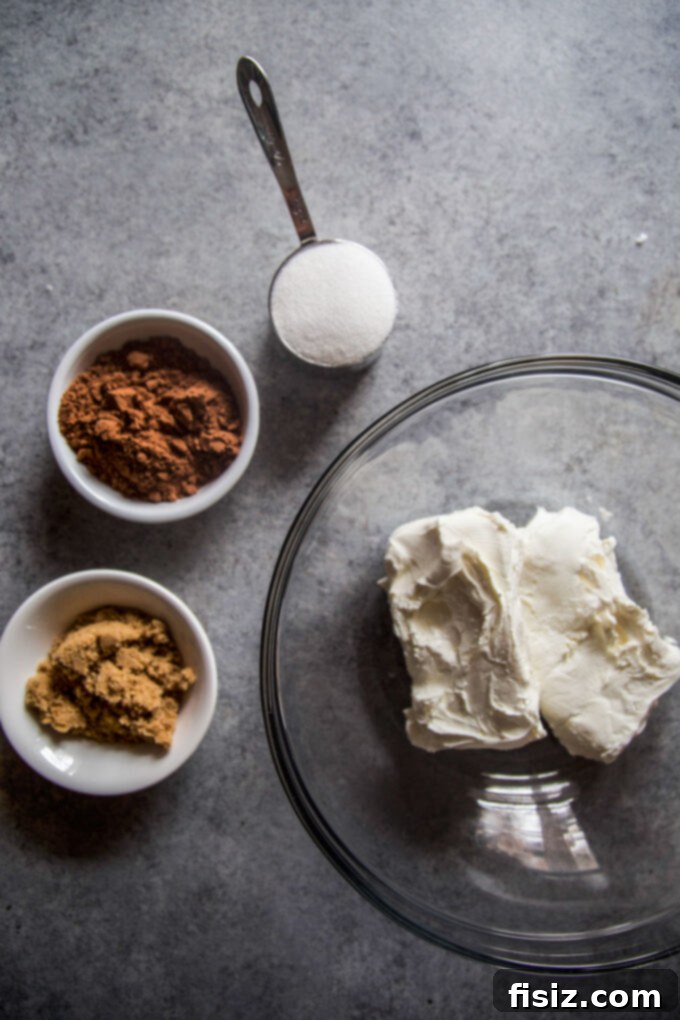
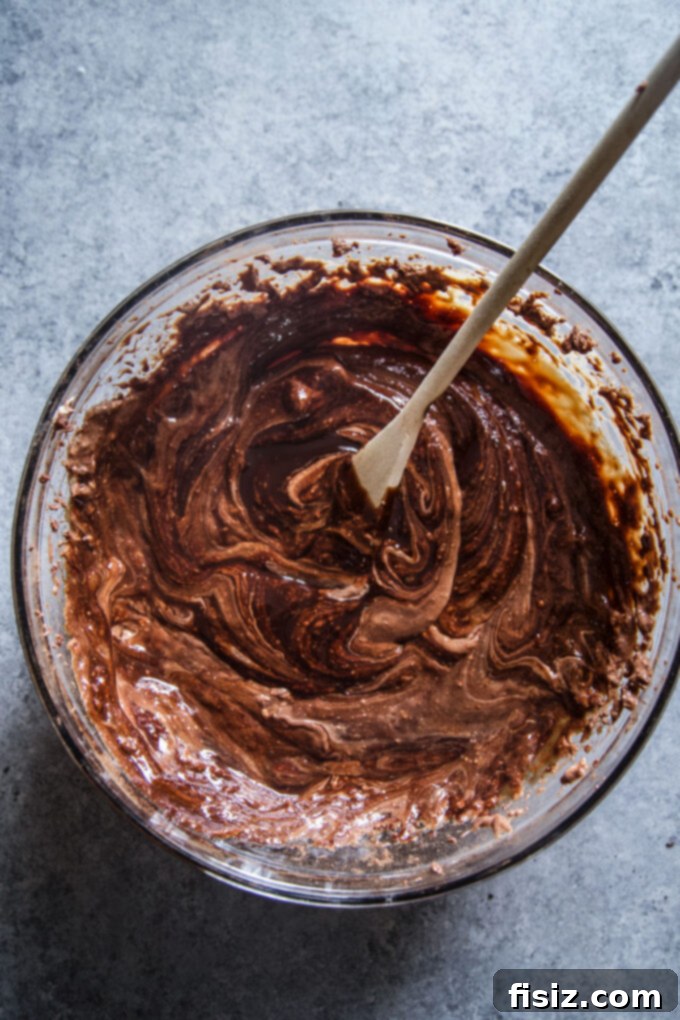
Preparation Steps:
- Preheat the Oven: Begin by preheating your oven to 325 degrees Fahrenheit (160°C). Accurate oven temperature is crucial for even baking and to prevent your cheesecake from cracking.
- Prepare the Baking Dish: Lightly spray an 8×8 inch baking dish with a nonstick cooking spray. For even easier removal of the finished bars, you can also line the pan with parchment paper, leaving a slight overhang on two sides. This acts as a convenient sling to lift the entire cheesecake out once it’s chilled.
Detailed Instructions:
- Crafting the Perfect Cookie Crust: In a large mixing bowl, combine the finely crushed Oreo cookies, the melted unsalted butter, and a subtle pinch of kosher salt. Mix these ingredients thoroughly until the cookie crumbs are evenly moistened and resemble wet sand. Transfer this delicious mixture into your prepared baking pan. Using the back of a spoon, the bottom of a flat glass, or a baking press, firmly and evenly press the mixture into the bottom of the pan. A compact crust is essential to prevent the cheesecake filling from seeping through and ensures a sturdy, flavorful base for your bars.
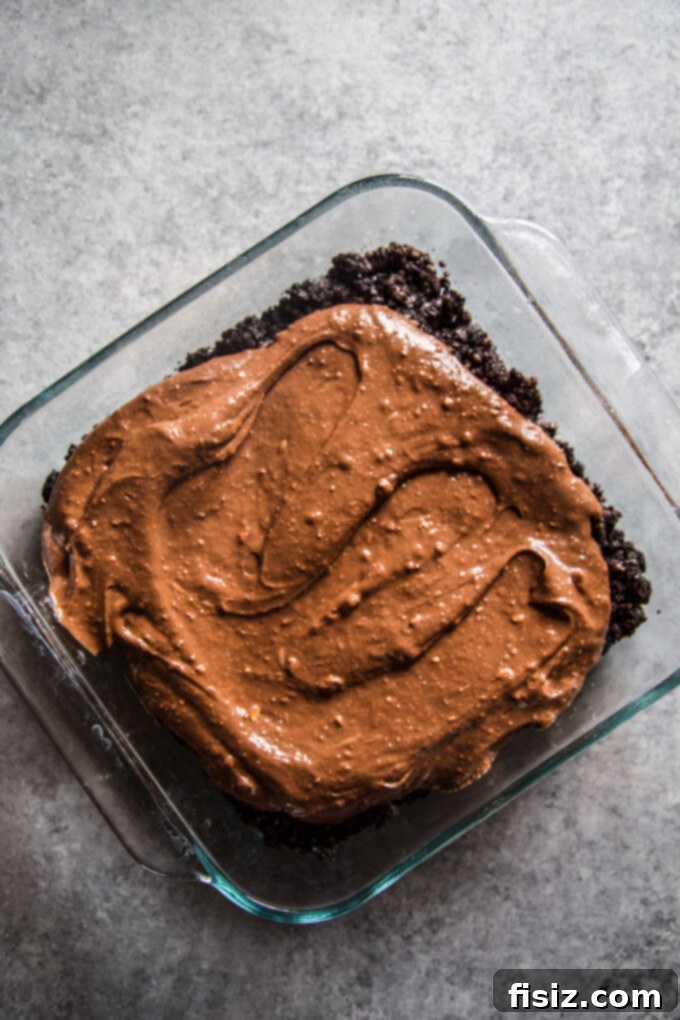
- Whipping Up the Velvety Cheesecake Filling: In a separate large mixing bowl, using an electric mixer, beat together the softened cream cheese, granulated sugar, brown sugar, and cocoa powder until the mixture is completely smooth and creamy, with absolutely no lumps remaining. Remember to stop and scrape down the sides of the bowl frequently to ensure everything is well incorporated. Next, add the large eggs, one at a time, beating on low speed just until each egg is combined into the batter. It’s crucial not to over-beat the eggs, as incorporating too much air can cause the cheesecake to puff up and then crack during cooling. Finally, stir in the pure vanilla extract and another pinch of kosher salt. Gently fold in the hot fudge sauce, creating beautiful, enticing swirls throughout the batter rather than fully incorporating it. Pour this luscious cheesecake mixture carefully over your prepared Oreo crust, spreading it evenly.
- Baking to Perfection: Carefully transfer the baking dish to your preheated oven. Bake for approximately 40 to 45 minutes. The cheesecake is done when the edges appear set, but the very center still has a slight, delicate jiggle when you gently shake the pan. This “jiggle test” is key; it indicates that your cheesecake is perfectly baked and will continue to firm up as it cools, preventing an over-baked, dry, or cracked result.
- The Crucial Chill: Once baked, remove the cheesecake from the oven and allow it to cool completely on a wire rack at room temperature. Resist the urge to rush this step, as gradual cooling helps prevent cracks. Once cooled to room temperature, transfer the baking dish to the refrigerator. Chill the cheesecake for at least 3 hours, but for the very best results, allowing it to chill overnight will ensure it is perfectly firm, sliceable, and that all the wonderful flavors have fully developed and melded.
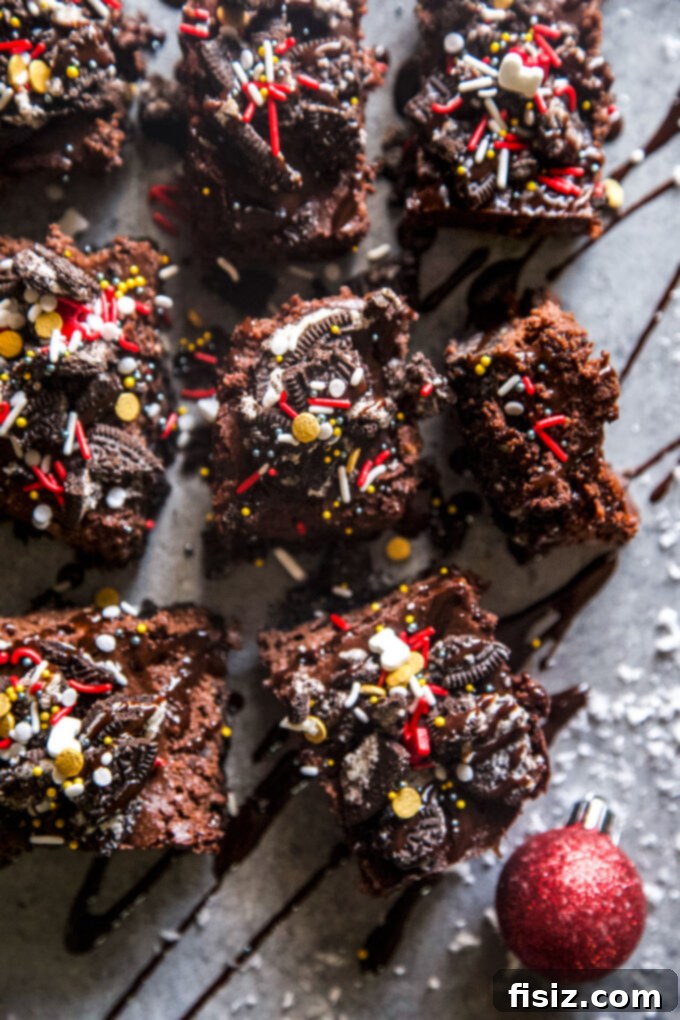
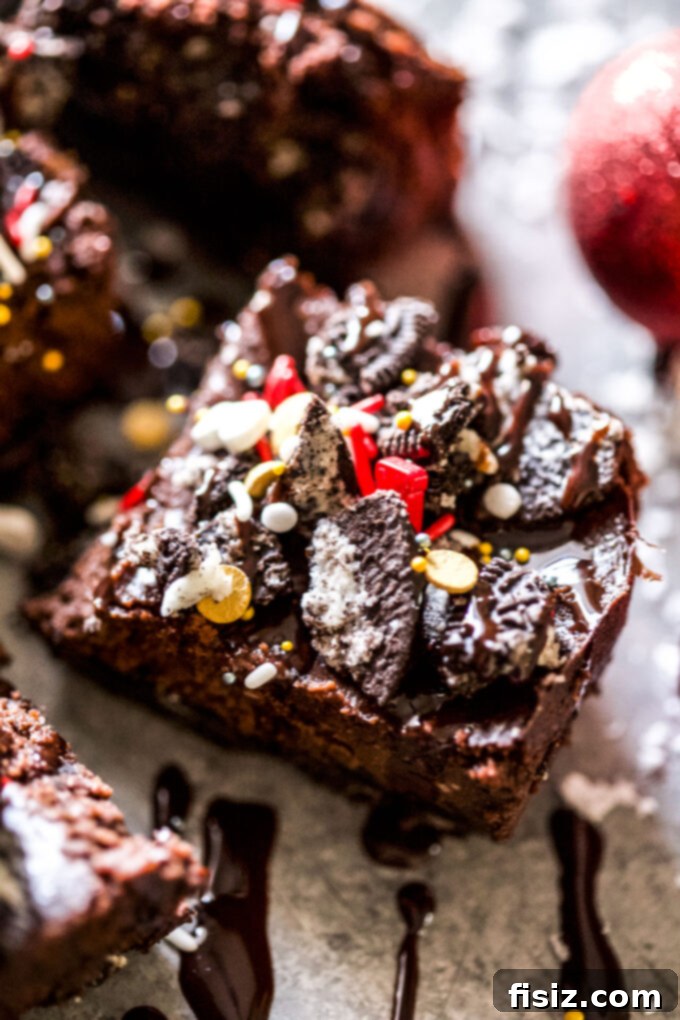
- Garnish and Serve: When the cheesecake bars are thoroughly chilled and firm, remove them from the refrigerator. If you used parchment paper, carefully lift the entire cheesecake out of the pan onto a clean cutting board using the paper overhangs. Drizzle generously with additional hot fudge sauce for an extra layer of decadence, and then sprinkle with more chopped Oreos for added crunch and visual appeal. For clean, neat slices, dip a sharp knife in hot water and wipe it clean between each cut. Slice the cheesecake into your desired bar shapes and serve immediately!
Creative Twists: Elevating Your Hot Cocoa Cheesecake Bars
While these Hot Cocoa Cheesecake Bars are divine as is, don’t hesitate to unleash your inner pastry chef and experiment with these fun variations to customize them to your taste or for different occasions.
- Alternative Crust Creations: The Oreo crust is a classic, but the possibilities are endless! Consider using graham crackers for a traditional cheesecake base, sugar cookies for extra sweetness, digestives or shortbread cookies for a buttery European touch, or even gingersnap cookies for a spicy, warm kick that complements the cocoa beautifully. Any cream-filled cookie sandwich can also be crushed for a unique twist.
- Exciting Topping Adventures: Beyond the delightful crushed Oreos and extra hot fudge, get creative with your toppings! Marshmallows (toasted for a s’mores effect), a sprinkle of your favorite nuts (pecans, walnuts, or almonds), fresh raspberries or strawberries for a bright contrast, mini chocolate chips, a drizzle of caramel sauce, a dollop of whipped cream, or crushed peppermint candies (especially during the holidays) can all elevate your bars to new heights of deliciousness.
- Fun Serving Formats: Instead of a classic square baking pan, why not make individual mini hot cocoa cheesecake cups? Simply press the crust mixture into the bottom of a cupcake or muffin pan lined with paper liners, then add the filling and bake. This format is perfect for parties, making serving a breeze and minimizing cleanup for you and your guests!
Secrets to Cheesecake Success: Expert Tips for Flawless Bars
Achieving a perfectly smooth, creamy, and crack-free cheesecake isn’t just about following the recipe; it’s about understanding a few key techniques. These expert tips will help ensure your Hot Cocoa Cheesecake Bars turn out absolutely flawless every time.
- Crust Compression is Key: When pressing the buttered Oreo mixture into the pan, use a baking press, the bottom of a glass, or a spoon to compact it firmly and evenly. A well-compressed crust provides a stable base and prevents the cheesecake filling from seeping underneath, ensuring a clean separation.
- Room Temperature Ingredients for Smoothness: This is a golden rule for cheesecake. Always take your cream cheese, butter, and eggs out of the fridge at least 30 minutes to an hour before you begin. Room temperature ingredients blend much more smoothly and create a homogenous, creamy batter without lumps, which is essential for that signature velvety cheesecake texture.
- Do Not Over-Beat the Filling: Mix the cheesecake filling until the ingredients are just combined and smooth. Over-beating incorporates too much air into the batter, which can cause the cheesecake to puff up excessively in the oven and then collapse and crack as it cools. When folding in the hot fudge, do so gently to create beautiful swirls rather than fully blending it.
- The “Jiggle Test” and Avoiding Over-Baking: Cheesecake continues to cook and set as it cools. Over-baking is a common culprit for dry cheesecakes and unsightly cracks. Look for edges that are set, but a center that still has a slight, gentle jiggle. This indicates it’s perfectly done. It will firm up completely in the refrigerator.
- The Power of the Chill: Patience is a virtue when it comes to cheesecake. Allowing your cheesecake to chill overnight is truly ideal. This extended chilling time is crucial for the cheesecake to fully set, develop its rich flavors, and achieve its firm yet creamy texture.
- For Clean Slices, Heat Your Knife: To achieve perfectly neat and smooth slices, run a sharp knife under hot water, wipe it clean, and then make your cut. Repeat this process for each slice. This simple trick prevents the cheesecake from sticking and ensures every bar looks as good as it tastes.
- Consider a Water Bath (Optional but Recommended): For the ultimate creamy texture and to further minimize the risk of cracks, consider baking your cheesecake bars in a water bath. Place your baking dish inside a larger roasting pan, then fill the roasting pan with hot water about halfway up the sides of the cheesecake dish. The steam from the water creates a moist baking environment, ensuring even cooking and a perfectly smooth top.
Storing Your Delicious Creations: Freshness and Longevity
Proper storage is essential to keep your Hot Cocoa Cheesecake Bars fresh and delicious for as long as possible. With a few simple steps, you can enjoy these delightful treats for days or even weeks.
- Refrigeration: Any leftover cheesecake bars should be stored in an airtight container or wrapped tightly in plastic wrap or aluminum foil. When properly stored in the refrigerator, they will remain fresh and delicious for up to one week.
- Freezing: These cheesecake bars are also excellent for freezing, making them a perfect make-ahead dessert. To freeze, individually wrap each bar tightly in plastic wrap, then again in aluminum foil. Place the wrapped bars in a freezer-friendly, airtight container or a heavy-duty freezer bag. They can be stored in the freezer for up to two months.
- Thawing: When you’re ready to enjoy a frozen bar, simply remove it from the freezer and thaw it in the refrigerator for several hours or overnight until softened. While they can be eaten slightly frozen for a colder treat, thawing completely will restore their creamy texture.
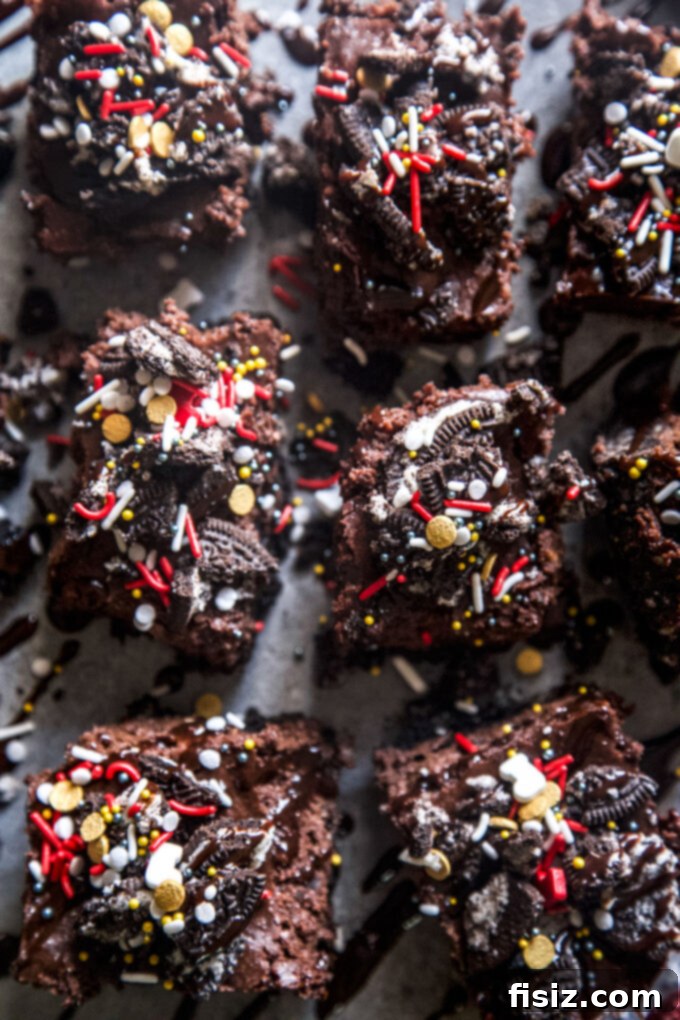
Hot Cocoa Cheesecake Bars Recipe
These Hot Cocoa Cheesecake Bars are the perfect winter holiday desserts made of rich and creamy cheesecake indulgently swirled with hot fudge nestled on top of a crisp cookie crust! Each bite tastes exactly like your fave cup of hot chocolate drink- but made more decadent with crunchy Oreo cookie bits and gooey hot fudge sauce.
Recipe Details:
- Yield: 8 servings
- Prep Time: 20 minutes
- Cook Time: 45 minutes
- Chill Time: 3 hours to overnight
- Total Time: Approximately 4 hours 5 minutes (including minimum chill time)
Ingredients
For the Crust:
- 24 to 30 Whole Oreo cookies, finely crushed
- 6 tbsp Unsalted butter, melted
- Pinch of kosher salt
For the Cheesecake:
- 2 (8oz) Plain cream cheese bars, softened to room temperature
- 1/2 cup Granulated sugar
- 1/4 cup Brown sugar, packed
- 1/4 cup Unsweetened cocoa powder (Dutch-process recommended)
- 2 large Eggs, room temperature
- 1 tsp Pure vanilla extract
- Pinch of kosher salt
- 1 cup Store-bought hot fudge sauce, plus extra for garnish
- 1/2 cup Chopped Oreos, for garnish
Instructions
- Prepare for Baking: Preheat your oven to 325°F (160°C). Lightly spray an 8×8 inch baking dish with nonstick cooking spray. For effortless removal, consider lining the pan with parchment paper, allowing some overhang on two sides to act as handles.
- Craft the Cookie Crust: In a large bowl, combine the finely crushed Oreo cookies, melted unsalted butter, and a pinch of kosher salt. Mix thoroughly until all crumbs are evenly moistened. Press this mixture firmly and evenly into the bottom of the prepared baking pan. Use the back of a spoon or a flat-bottomed glass to create a compact, uniform crust.
- Mix the Cheesecake Filling: In a separate large mixing bowl, beat the softened cream cheese, granulated sugar, brown sugar, and cocoa powder together using an electric mixer until the mixture is smooth, creamy, and free of any lumps. Remember to scrape down the sides of the bowl as needed. Beat in the large eggs, one at a time, mixing just until each is incorporated. Avoid over-beating the eggs. Stir in the pure vanilla extract and a pinch of kosher salt. Gently fold in 1 cup of the hot fudge sauce, creating beautiful swirls within the batter rather than fully blending it. Pour the cheesecake mixture evenly over the prepared Oreo crust.
- Bake the Cheesecake: Carefully place the baking dish into the preheated oven. Bake for approximately 40 to 45 minutes, or until the edges are set and firm, but the center still has a slight jiggle when gently shaken. This indicates it’s perfectly cooked.
- Cool and Chill Thoroughly: Remove the cheesecake from the oven and let it cool completely on a wire rack at room temperature. Once cooled, transfer the baking dish to the refrigerator and chill for at least 3 hours, or preferably overnight, to allow the cheesecake to fully set and for the flavors to deepen.
- Garnish and Serve: Once the cheesecake is firm and thoroughly chilled, lift it out of the pan using the parchment paper overhangs (if used) onto a cutting board. Drizzle with additional hot fudge sauce and sprinkle generously with chopped Oreos. For clean and neat slices, use a sharp knife dipped in hot water and wiped clean between each cut. Slice into bars and serve your delicious Hot Cocoa Cheesecake Bars!
Author: Lauren Grier | Course: Dessert | Cuisine: American
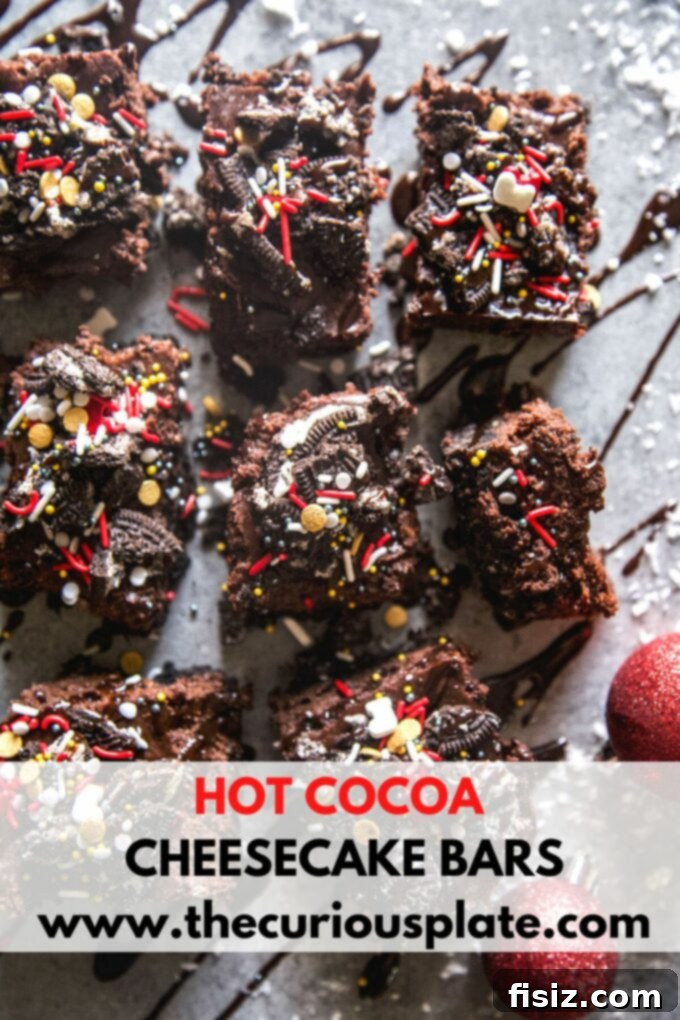
These Hot Cocoa Cheesecake Bars are more than just a dessert; they’re an invitation to indulge in pure comfort and joy. Whether you’re looking for an impressive holiday treat, a delightful addition to your winter baking repertoire, or simply a decadent way to brighten your day, this recipe delivers on all fronts. With their simple preparation, rich flavors, and irresistible textures, these bars are sure to become a cherished favorite. So gather your ingredients, follow these easy steps, and prepare to create unforgettable moments with every delicious bite. Your journey to cheesecake perfection starts here!