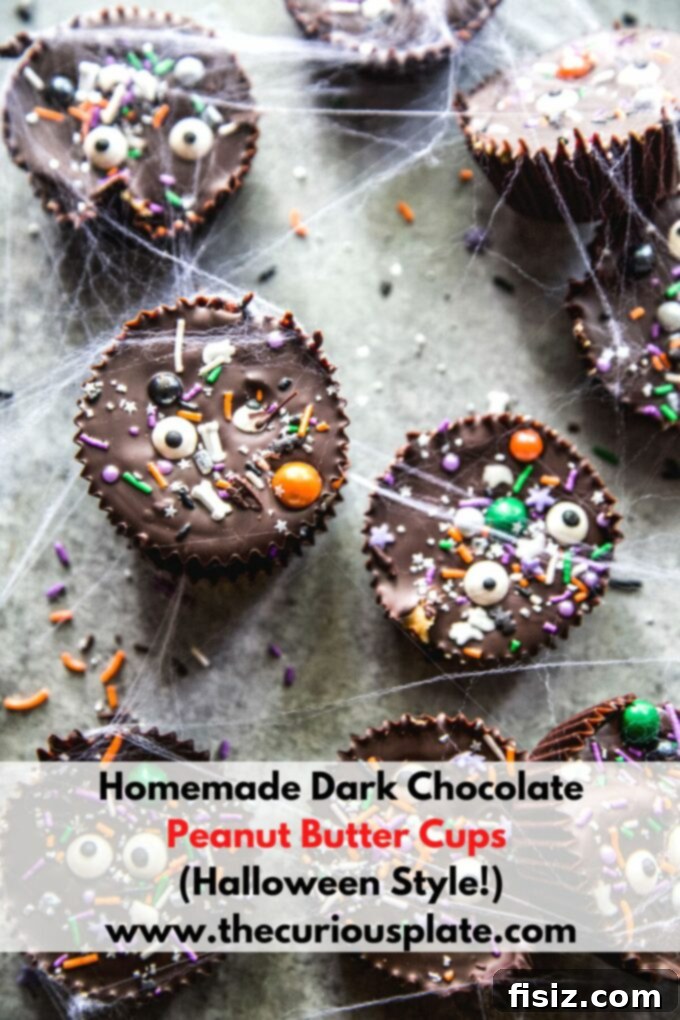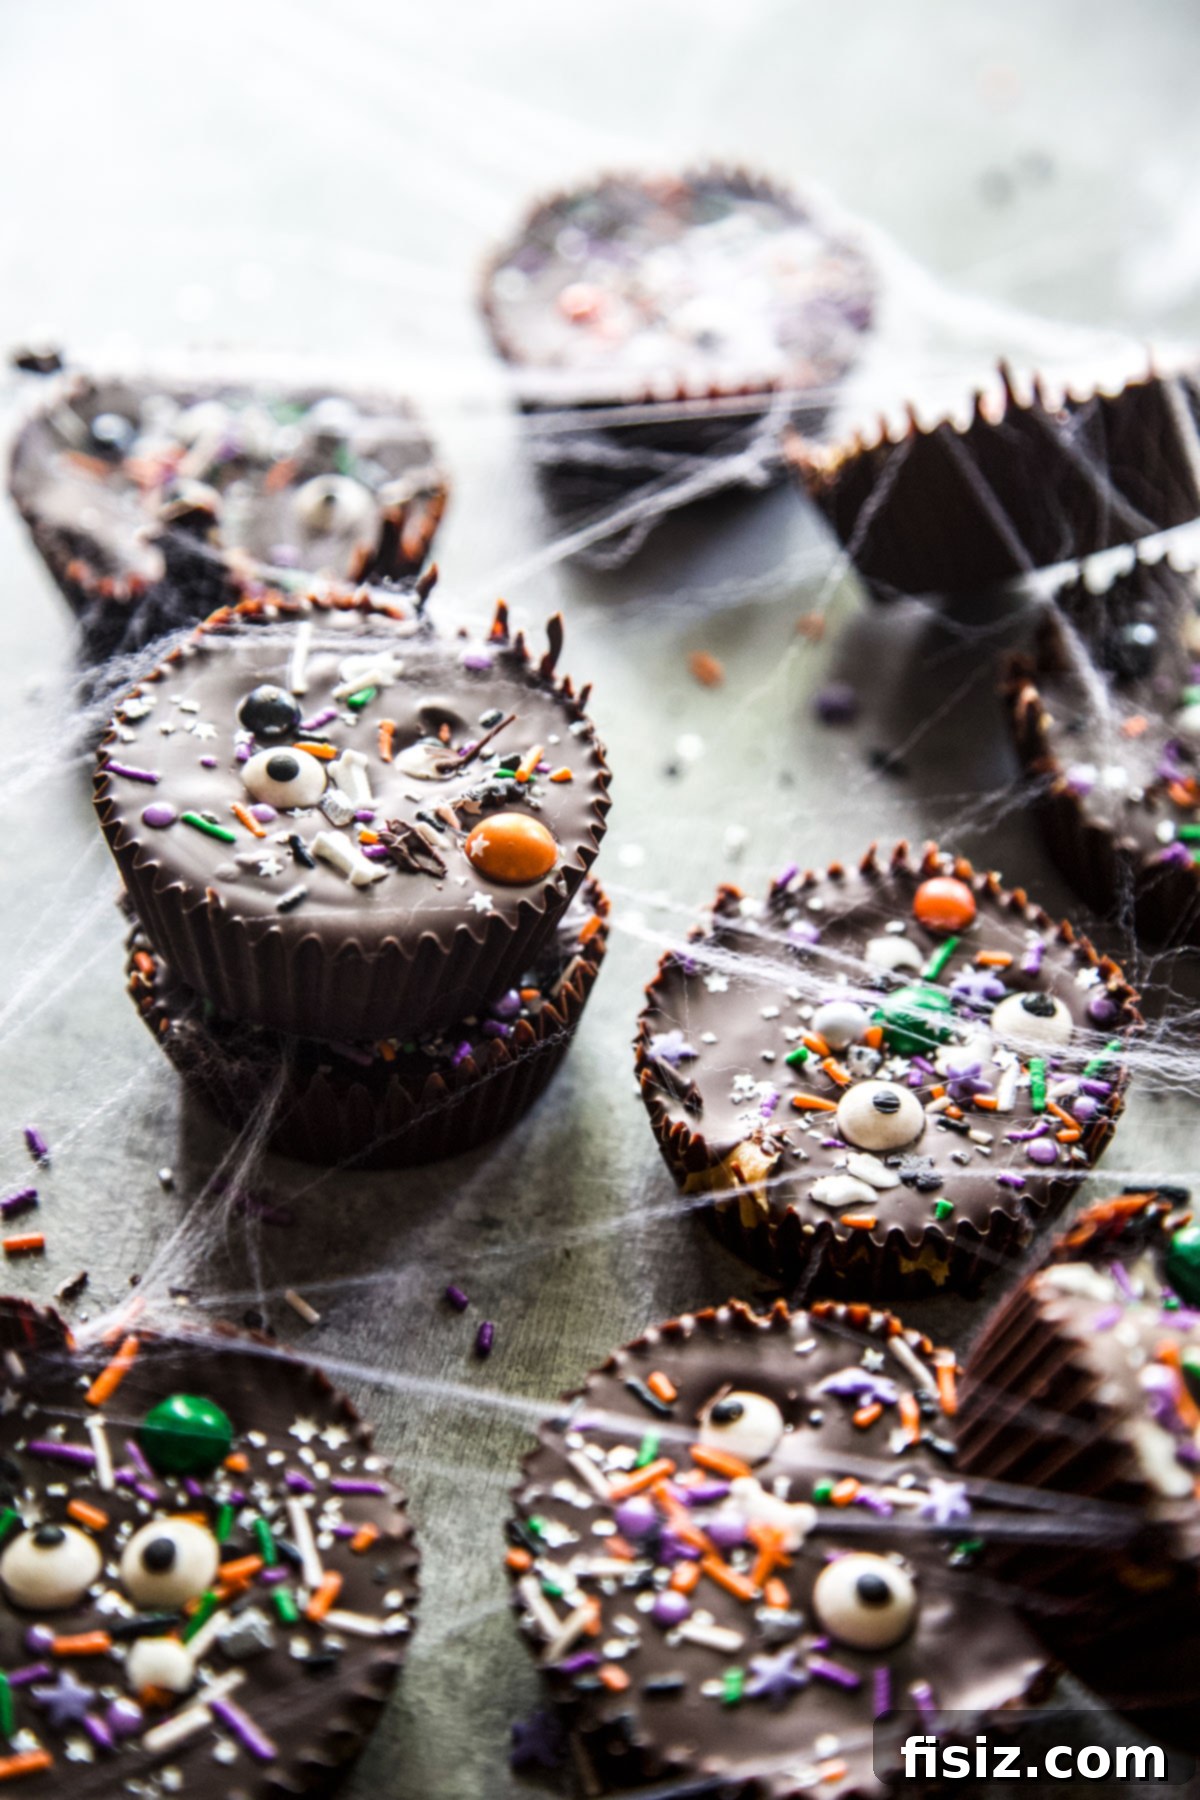
Welcome to the enchanting world of homemade Halloween treats, where spooky meets sweet in the most delightful way! This year, move beyond the usual trick-or-treat candy haul and dive into a fun, family-friendly activity that yields truly irresistible results: Homemade Dark Chocolate Peanut Butter Cups. Forget complicated baking; these no-bake wonders come together with just three simple ingredients, making them the perfect project for little hands and busy schedules. Imagine combining rich, bittersweet dark chocolate with creamy, luscious peanut butter, then customizing each bite with festive Halloween sprinkles. The result? A dangerously delicious treat that will have every sweets enthusiast, from tiny ghouls to grown-up goblins, absolutely enchanted.
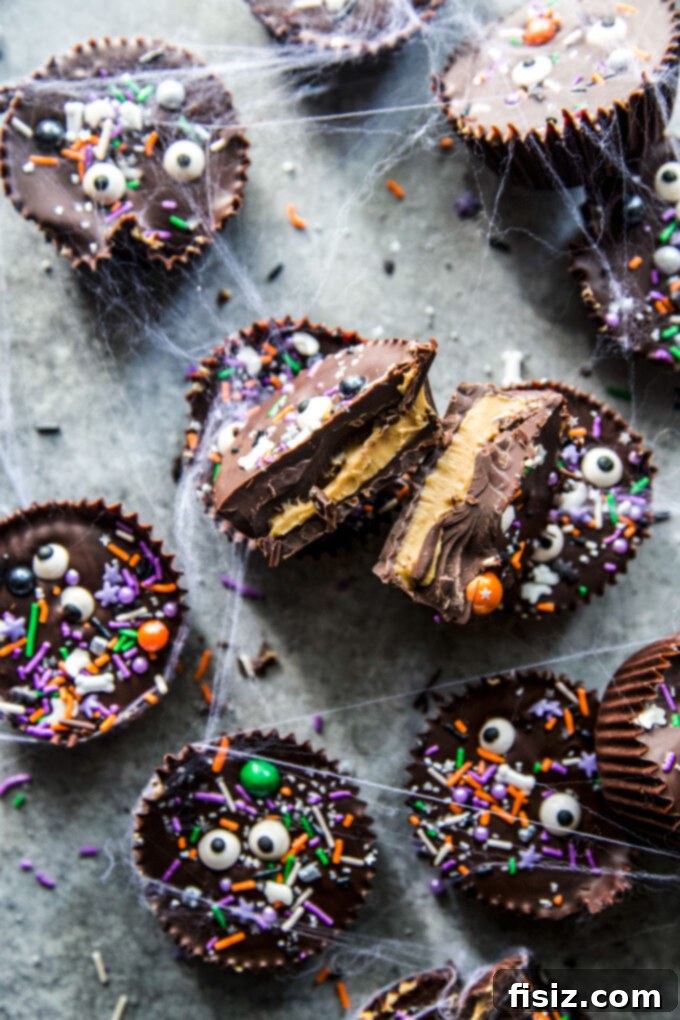
Elevate Your Halloween: The Irresistible Charm of Homemade Peanut Butter Cups
Why settle for store-bought when you can craft a treat that’s not only superior in taste but also packed with personalized charm? These homemade Dark Chocolate Peanut Butter Cups are a game-changer for your Halloween festivities. Whether you’re preparing a special surprise for the neighborhood’s mini pirates and princesses or looking for a show-stopping addition to your spooky night dessert table, this recipe promises to deliver. The beauty lies in its simplicity and versatility. The classic combination of dark chocolate and peanut butter is a universally loved pairing, and by making them from scratch, you gain full control over the quality of ingredients and, most excitingly, the festive decorations!
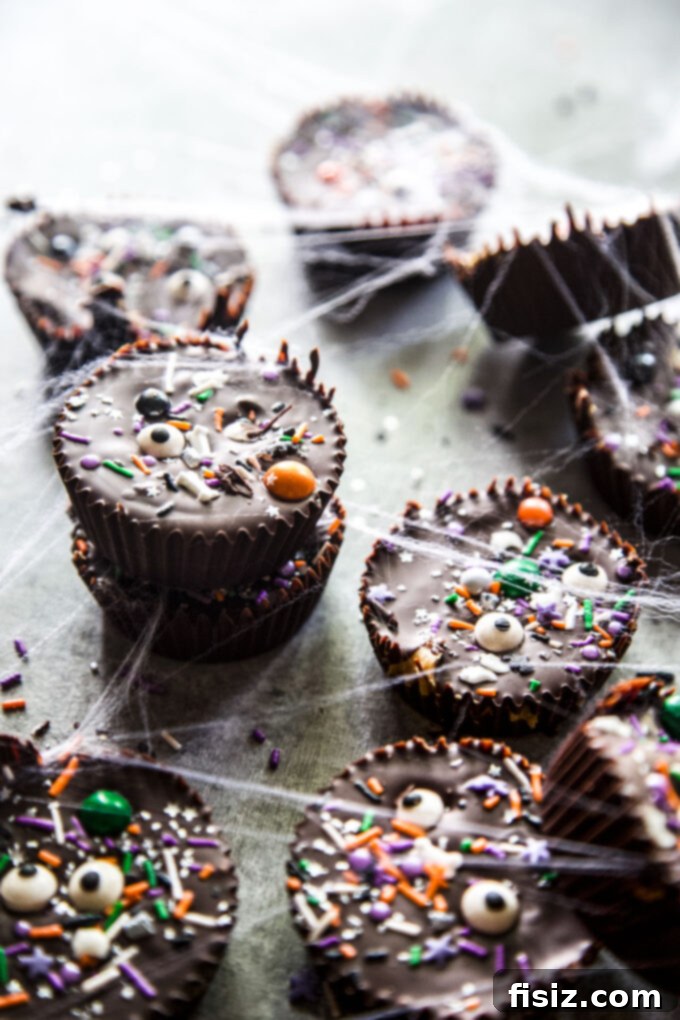
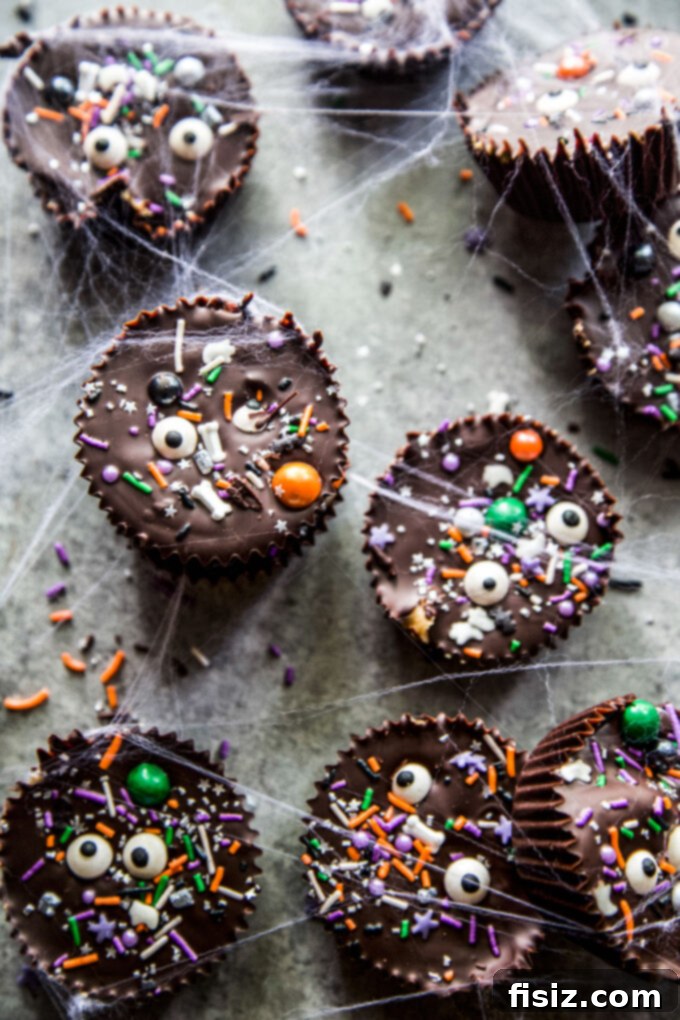
Unleash your creativity with a myriad of creepy-cute toppings. Think beyond basic sprinkles: edible googly eyes can bring your cups to life, gummy worms can crawl out for a ghoulish effect, Halloween-themed M&M’s chips add a burst of color and crunch, and classic candy corn pieces provide that iconic autumnal touch. You can even experiment with crushed Oreos for a “dirt” effect or mini candy pumpkins for an extra festive flair. The possibilities are endless, allowing each peanut butter cup to become a tiny canvas for Halloween artistry.
Quick and Easy Halloween Specials for Stress-Free Celebrations
Halloween is often a whirlwind of excitement, from meticulously planned costumes and elaborate decorations to thrilling parties and trick-or-treating adventures. While incredibly fun, it can also be a surprisingly frantic day. Maintaining your sanity amidst the Halloween hustle often comes down to smart planning, especially when it comes to food. That’s why having a repertoire of simple, no-cook, and make-ahead party ideas is an absolute lifesaver.
These adorable, three-ingredient peanut butter cups are a prime example of such a strategy, perfect for keeping the kiddos happy without adding extra stress to your kitchen duties. But why stop there? For the adults, consider pairing them with sophisticated yet easy-to-assemble treats like a Deathly Hallows Snack Board, offering a magical array of cheeses, meats, and fruits. And for a spirited touch, a refreshing Hallow-Rita cocktail can be mixed up in batches. To complete your spread with satisfying finger foods that require minimal effort but deliver maximum flavor, integrate dishes such as savory Shakshuka Deviled Eggs, hearty Chili Cheese Stuffed Peppers, and flavorful Pumpkin Honey-Ginger Baked Wings. By focusing on these accessible, make-ahead options, you’ll find yourself with plenty of time to truly immerse yourself in the festivities and create lasting Halloween memories.
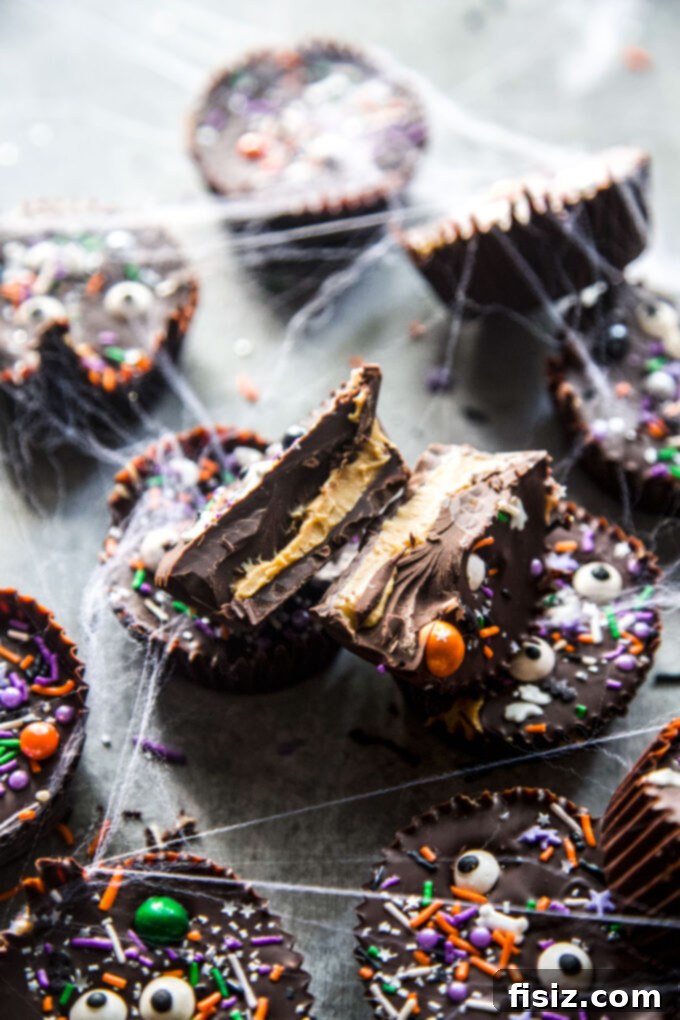
Essential Ingredients for Your Dark Chocolate Peanut Butter Cups
One of the many joys of this recipe is its minimal ingredient list, focusing on quality over quantity. Chances are, two of these star ingredients are already staples in your fridge or pantry. If not, a quick trip to the grocery store’s fun aisle is all it takes to gather what you need. Remember, with so few components, each one plays a crucial role in the final flavor, so opt for the best quality you can find.
- Dark Chocolate Chips: The foundation of our cups! While any dark chocolate chips will work, using a good quality brand truly elevates the flavor profile. Dark chocolate offers a beautiful contrast to the sweetness of the peanut butter, providing a sophisticated depth that will appeal to adults and children alike. You can also break down your favorite dark chocolate bar or block into small pieces for melting, just ensure they are uniform in size for even melting. Experiment with different cacao percentages; a 60-70% cacao dark chocolate offers a perfect balance of bitterness and sweetness.
- Creamy Peanut Butter: The heart of the cup! Your preferred brand of creamy peanut butter will work wonders here. For a classic, smooth texture, stick with creamy. However, if you crave an added textural dimension and a delightful crunch, feel free to substitute with chunky peanut butter. Natural peanut butter (the kind that separates) works best if stirred well to ensure a smooth, consistent texture. Avoid overly oily or sugary varieties for the best balance with the dark chocolate.
- Halloween Festive Sprinkles: This is where the magic truly happens and your creativity can run wild! From classic orange and black jimmies to spooky bat and ghost shapes, edible glitter, or even themed candy eyes, pick anything that sparks your Halloween spirit. These aren’t just for decoration; they add a playful crunch and visual appeal that makes these homemade treats irresistible for trick-or-treaters and party guests alike.
Mastering Homemade Dark Chocolate Peanut Butter Cups: A Step-by-Step Guide
Crafting these delectable Dark Chocolate Peanut Butter Cups at home is surprisingly straightforward, though it does involve a few chilling periods to ensure everything sets perfectly. Think of this “hands-free” time as an opportunity to tackle other Halloween preparations or simply enjoy a moment of calm. I highly recommend making at least two batches; these disappear quickly, and you’ll find yourself craving them long after the Halloween decorations are put away!
Preparation:
- Begin by lining a standard 12-cup muffin pan with paper or silicone muffin liners. These liners are crucial for easy removal and give your peanut butter cups their classic shape. Set the prepared pan aside, ready for action.
Detailed Steps:
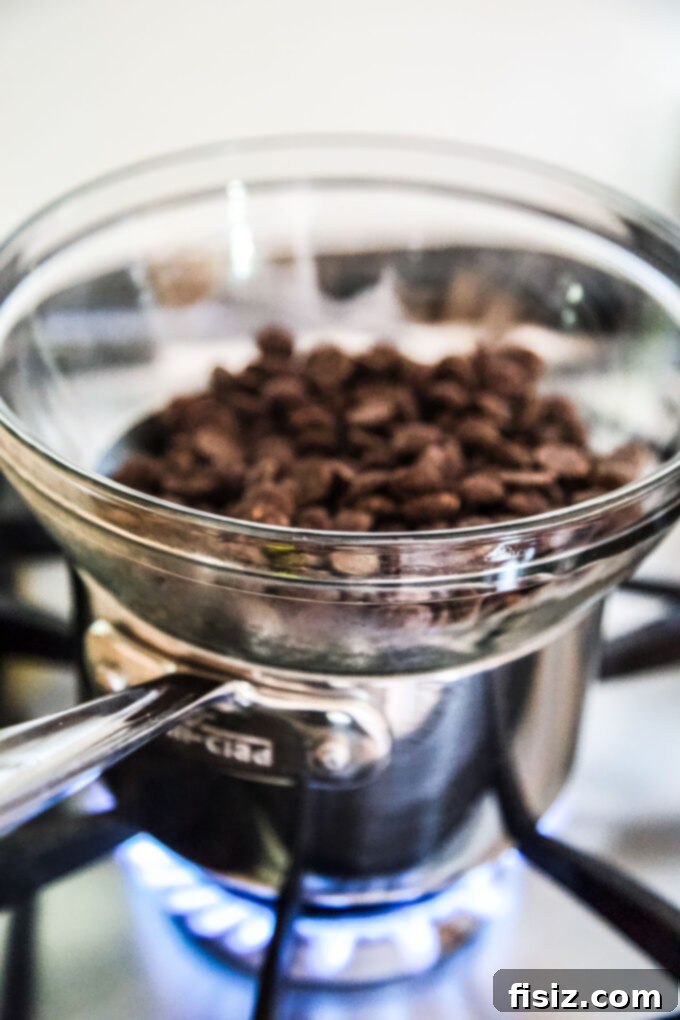
- Melt the Dark Chocolate: The double boiler method is ideal for melting chocolate gently and evenly, preventing it from seizing or burning. Fill a medium saucepan with about 2 to 3 inches of water and bring it to a gentle simmer (not a rolling boil). Place 2 cups of your dark chocolate chips into a heat-safe medium mixing bowl. Carefully set this bowl over the saucepan, ensuring the bottom of the bowl does not touch the simmering water. Stir the chocolate continuously with a spatula until it is completely melted and beautifully smooth, which should take approximately 1 minute. The steam from the water will gently heat the bowl, melting the chocolate to a perfect consistency.
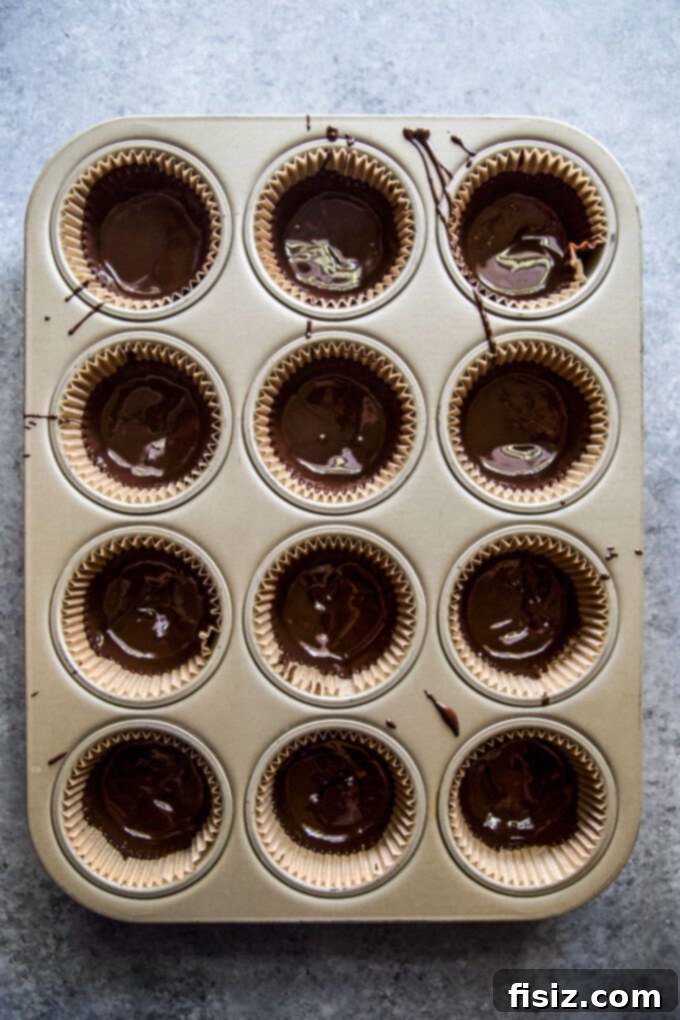
- Form the Chocolate Cups: Once your chocolate is melted and glossy, it’s time to create the outer shell of your cups. Take 1 tablespoon of the melted chocolate and spoon it into the bottom of each muffin liner. Using a small pastry brush or the back of a spoon, carefully brush some of the chocolate up the sides of each liner, aiming to coat about three-quarters of the way up. Don’t worry if the chocolate layer looks a bit thin at this stage; it will firm up nicely when chilled. This brushing technique creates a sturdy cup to hold the peanut butter filling. Once all 12 liners are filled and brushed, transfer the muffin pan to the fridge. Allow the chocolate to set completely for about 30 to 40 minutes. This step is vital to prevent the peanut butter from mixing with the chocolate.
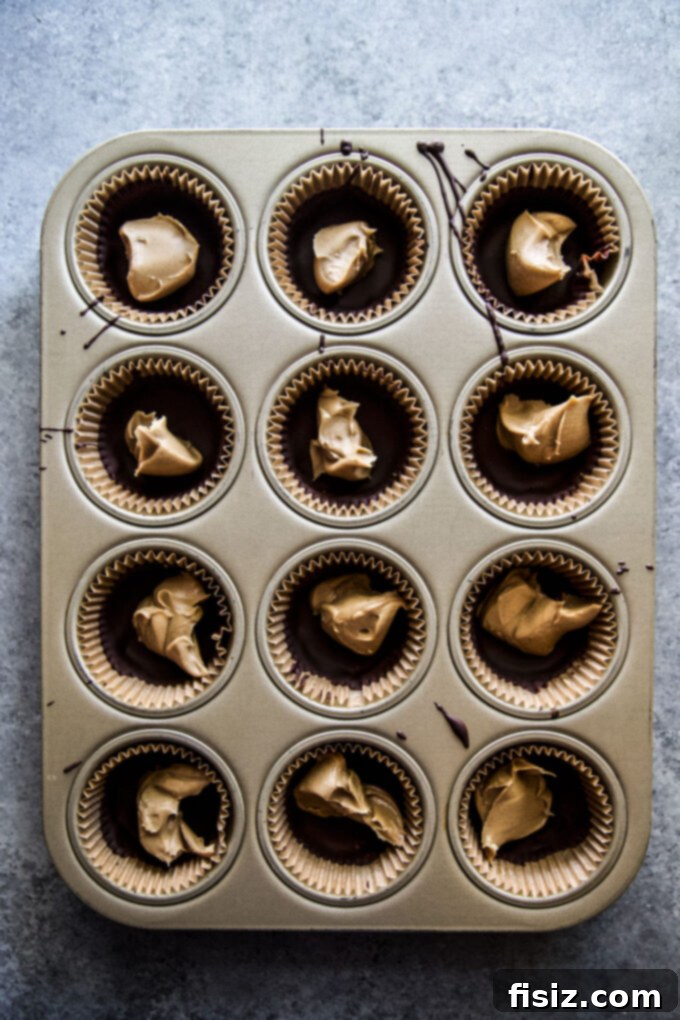
- Add the Peanut Butter Filling: Remove the muffin pan from the fridge and place it on your countertop. Now for the creamy center! Take 1 tablespoon of creamy peanut butter and gently place it into the center of each chocolate cup. Using the back of a spoon or your finger (if you don’t mind getting a little sticky!), gently press down on the peanut butter, flattening and smoothing it out to create an even layer. Make sure not to press too hard, as you don’t want to crack the chocolate shell. Return the muffin pan to the fridge for another 5 to 10 minutes to allow the peanut butter to firm up slightly, which makes applying the top chocolate layer easier.
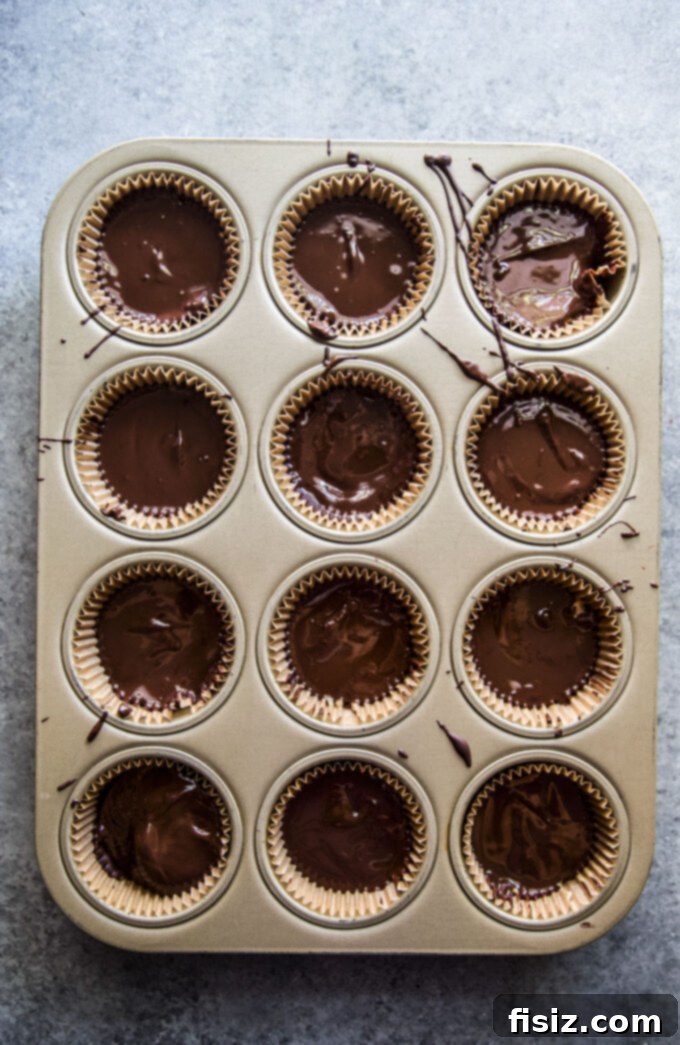
- Seal the Cups with More Chocolate: While the peanut butter is chilling, melt the remaining 1 cup of dark chocolate chips using the same double boiler method as before. Once it’s melted and smooth, carefully remove the bowl from the saucepan and set it aside. Retrieve the muffin pan from the fridge. Spoon about a tablespoon of the newly melted chocolate over the peanut butter in each cup, spreading it gently to completely cover the peanut butter layer and meet the chocolate edges of the cup. Repeat this process for all cups. This final layer seals in the peanut butter and creates the classic peanut butter cup look. Once all cups are covered, place the muffin pan back into the fridge for a final chill of about 15 minutes, or until the chocolate is firm and set.
- Decorate and Enjoy!: The moment you’ve been waiting for! Once the chocolate is fully set and firm, remove the muffin pan from the fridge. Carefully peel away the muffin liners from your homemade dark chocolate peanut butter cups. Now for the fun part: decorate your beautiful creations with your chosen Halloween festive sprinkles! Arrange them on a platter and watch them disappear. These are best enjoyed at room temperature for optimal texture, but they are also delicious straight from the fridge.
Pro Tips for Perfect Peanut Butter Cups Every Time
While this recipe is incredibly forgiving, a few expert tips can help you achieve professional-looking and tasting peanut butter cups. These insights will help you navigate common challenges and open up new customization opportunities:
- Microwave Melting Alternative: If you prefer to skip the double boiler, the microwave is a speedy alternative for melting chocolate. Place your dark chocolate chips in a microwave-safe bowl and heat them in 30-second intervals. After each interval, stir the chocolate thoroughly, even if it doesn’t look fully melted. The residual heat will continue to melt the chips. This prevents scorching and ensures a smooth, even consistency. Stop heating as soon as the last lumps disappear.
- Don’t Fear Thin Chocolate Sides: As you brush the melted chocolate up the sides of the muffin liners, the layer might appear quite thin, almost translucent. This is perfectly normal! Trust the process. Once the chocolate chills and sets, it will firm up and become a perfectly sturdy, delicious shell for your peanut butter filling. Over-brushing or adding too much chocolate at this stage can make the cups overly thick.
- Adjusting Peanut Butter Consistency: Sometimes, peanut butter can be a bit too thick or stiff, making it difficult to spread smoothly. If you encounter this, simply warm it gently in the microwave for 10-15 seconds, or mix in a tiny drizzle of honey or coconut oil. This will loosen it up to a more pliable consistency, making it much easier to work with and ensuring a smooth, even layer in your cups. A pinch of sea salt added to the peanut butter also enhances the flavor, creating a delightful sweet-and-salty contrast.
- Optimizing Chilling Time: The exact chilling time can vary based on your fridge’s temperature and the thickness of your chocolate layers. The key is to ensure each layer is firm and fully set before proceeding to the next step. If you’re short on time and need to speed up the process, you can place the muffin pan in the freezer for 5-10 minutes per layer. Just be careful not to leave them in too long, as extreme cold can sometimes cause chocolate to bloom (develop white streaks).
- Flavor Variations: Don’t limit yourself to dark chocolate! Experiment with milk chocolate for a sweeter cup or even white chocolate for a different flavor profile. You can also mix in a teaspoon of vanilla extract or a hint of espresso powder into your melted chocolate for added depth.
- Nut Butter Alternatives: For those with peanut allergies or simply looking to try something new, almond butter, cashew butter, or even sunflower seed butter make excellent substitutes for peanut butter, creating equally delicious and custom treats.
Frequently Asked Questions About Homemade Peanut Butter Cups
Here are answers to some common questions that arise when making these delightful treats, ensuring everyone can enjoy a taste of homemade Halloween magic.
- Can I make it vegan? Absolutely! Making these peanut butter cups vegan is incredibly easy. Simply ensure you use dairy-free dark chocolate chips. Many brands offer high-quality dark chocolate that is naturally vegan (check the ingredients list for milk solids). When selecting sprinkles, also double-check that they are vegan, as some can contain confectioner’s glaze (shellac) or other non-vegan ingredients. With these simple substitutions, you can create a delightful plant-based treat for all your guests.
- How do I make it nut-free? For those with peanut or other nut allergies, creating a nut-free version is entirely possible and just as delicious. The best replacement for peanut butter is sunflower seed butter (often sold as SunButter). It has a similar creamy texture and a rich, slightly nutty flavor that pairs wonderfully with chocolate. Always ensure your chocolate chips and sprinkles are also certified nut-free to avoid cross-contamination for severe allergies. This ensures everyone can safely enjoy these festive treats.
- Are these freezer-friendly? Yes, these homemade peanut butter cups are remarkably freezer-friendly! This is fantastic news for meal prepping treats or making a large batch in advance for parties. To freeze them effectively, place the set peanut butter cups in an airtight container with parchment paper layered between them to prevent sticking. They can be stored in the freezer for up to 3 months. Having a stash means you can grab a quick, delicious treat whenever a craving strikes, long after Halloween is a distant memory.
Storing Your Homemade Dark Chocolate Peanut Butter Cups
Proper storage ensures your delicious homemade dark chocolate peanut butter cups stay fresh and tasty for as long as possible, allowing you to enjoy them long after the Halloween festivities have ended. The best storage method depends on your environment and how long you plan to keep them.
For immediate enjoyment or storage in cooler climates, place your finished peanut butter cups in an airtight container or a sealed plastic bag. They can be stored in a cool, dry area of your kitchen (away from direct sunlight or heat sources) for up to 7 days. This keeps the chocolate firm and prevents it from melting.
If your kitchen tends to be warm, or for extended freshness, storing them in the refrigerator is recommended. In an airtight container, they will remain fresh for several weeks. The cold temperature will keep the chocolate and peanut butter layers perfectly firm. For even longer storage, these treats are excellent candidates for freezing. Layer them in an airtight freezer-safe container, using parchment paper between layers to prevent them from sticking together. They can be kept in the freezer for up to 3 months.
When retrieving frozen peanut butter cups, it’s advisable to let them thaw in the refrigerator overnight before eating. This allows the chocolate and peanut butter to soften slightly, preventing a tooth-shattering experience and bringing out their full flavor and creamy texture. Enjoying them at a slightly softened state, rather than rock-hard from the freezer, offers the most satisfying bite.
Homemade Dark Chocolate Peanut Butter Cups (Halloween-Style!)
12
20
mins
1
hr
5
mins
1
hr
25
mins
Pin Recipe
Ingredients
-
3
cups
Dark Chocolate Chips, divided -
3/4
cup
Creamy peanut butter, divided - Halloween festive sprinkles, for garnish
Instructions
-
Line a 12-cup muffin pan with muffin liners and set it aside.
-
Bring a medium saucepan filled with about 2 to 3 inches of water to a boil. In a medium mixing bowl, add 2 cups of dark chocolate chips. Set the bowl over the saucepan, making sure the bottom is not touching the water, and stir the chocolate until it has melted and smooth, about 1 minute.
-
Next, take 1 tbsp of the melted chocolate and place it into the bottom of each muffin liner. Using a pastry brush, brush some of the chocolate up the sides of the liner about three-quarters of the way. It will look thin, but once the chocolate sets it will look just right. Once all the liners have been filled, place the muffin pan into the fridge to set for about 30 to 40 minutes.
-
Take the muffin pan out of the fridge and place it on the countertop. Next, take 1 tbsp of the peanut butter and place it into the center of each chocolate cup. Press down on the peanut butter making sure it’s flat and smooth. Place the muffin pan back into the fridge for another 5 to 10 minutes.
-
While the peanut butter sets, melt the remaining 1 cup of dark chocolate chips. Once it’s melted, remove the bowl from the saucepan and set it aside. Next, remove the muffin pan from the fridge. Spoon a tablespoon of the melted chocolate over the peanut butter. Repeat the process until all the cups have been covered. Place the muffin pan into the fridge again and let the chocolate set for about 15 minutes.
-
Once the chocolate is set, remove the muffin pan from the fridge. Remove the muffin liner from the chocolate cup, and decorate with festive sprinkles!
Lauren Grier
Dessert
American
Did you make this recipe?
Please leave a comment below and share a photo on Instagram with the hashtag #thecuriousplate!