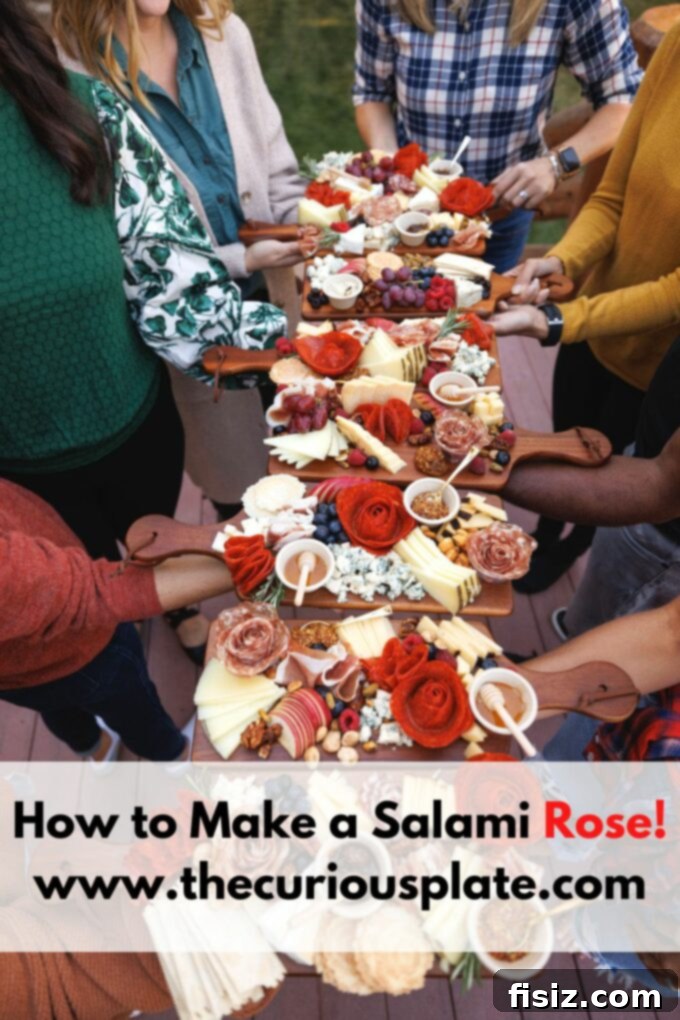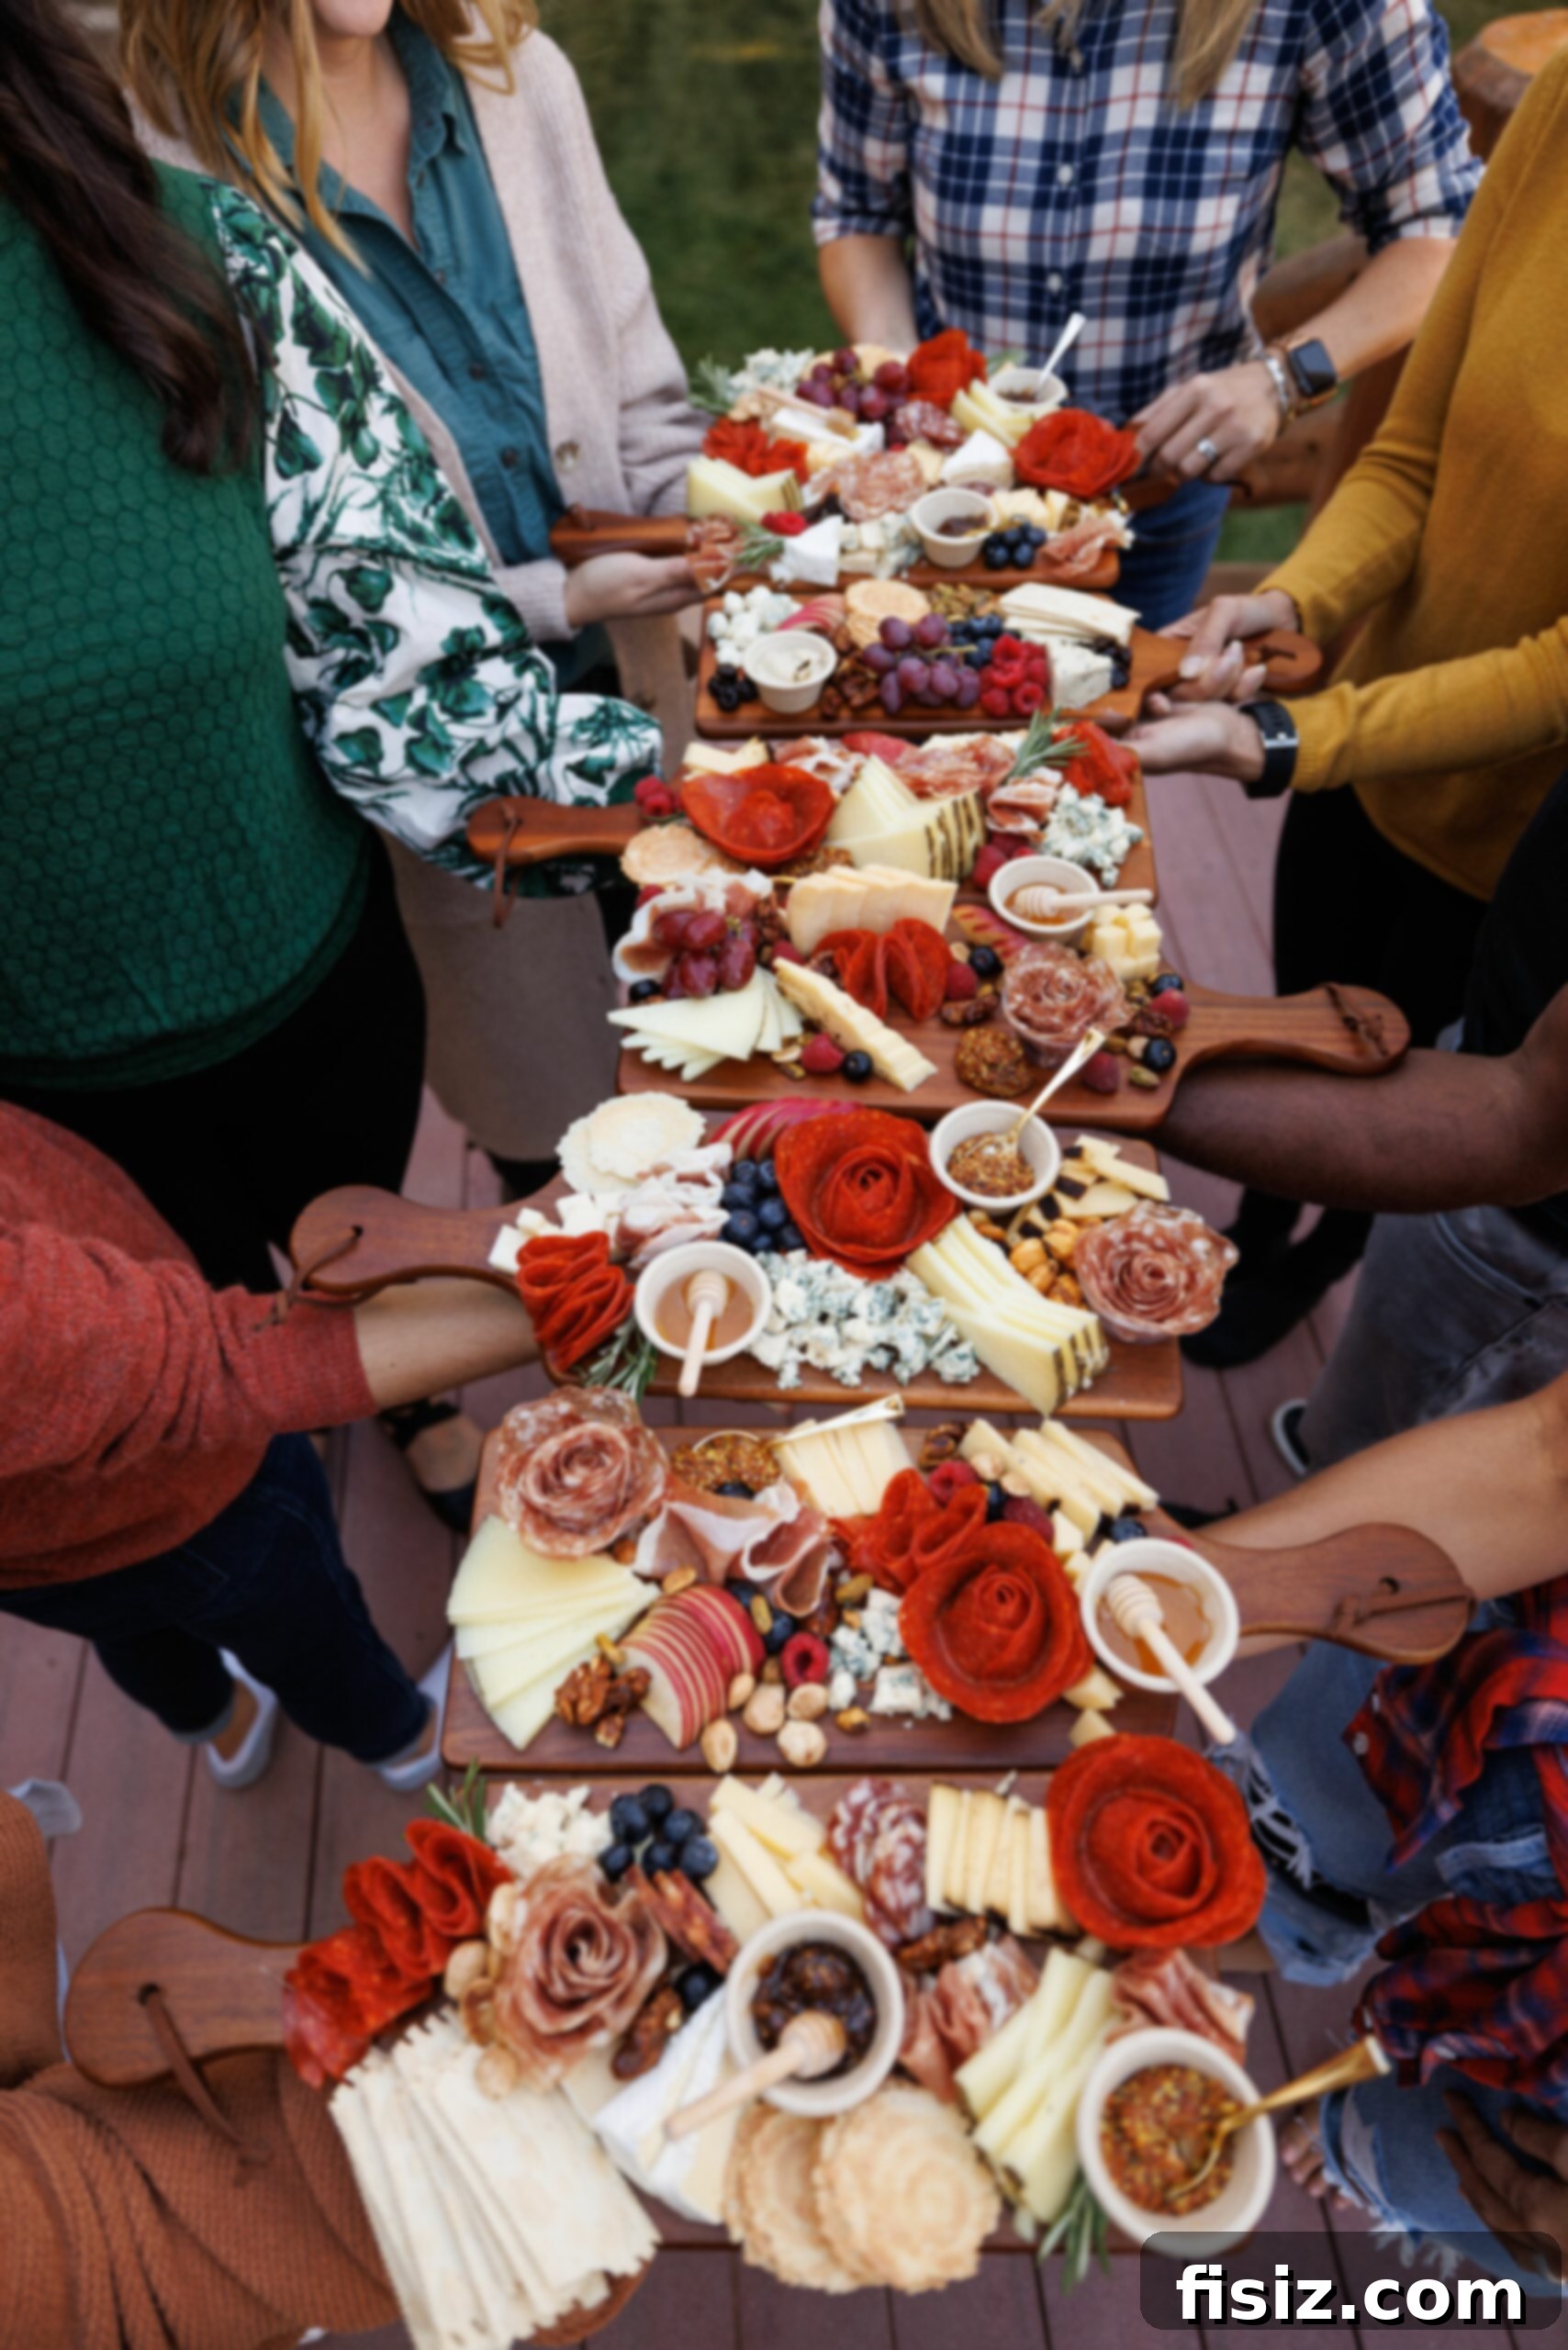
Welcome to the delightful world of charcuterie boards, where culinary artistry meets effortless elegance! If you’re looking to elevate your grazing tables and impress your guests with minimal fuss, you’ve come to the right place. This comprehensive guide will walk you through the surprisingly simple yet incredibly effective technique of creating stunning **salami roses**. These edible ornaments are not just eye-catching; they transform ordinary deli meats into a focal point, adding a touch of sophistication to any spread. Whether it’s for a festive holiday gathering, a casual brunch, or a romantic dinner, mastering the art of the salami rose will make you the star of any culinary occasion.
Transforming Your Charcuterie Boards with Salami Roses
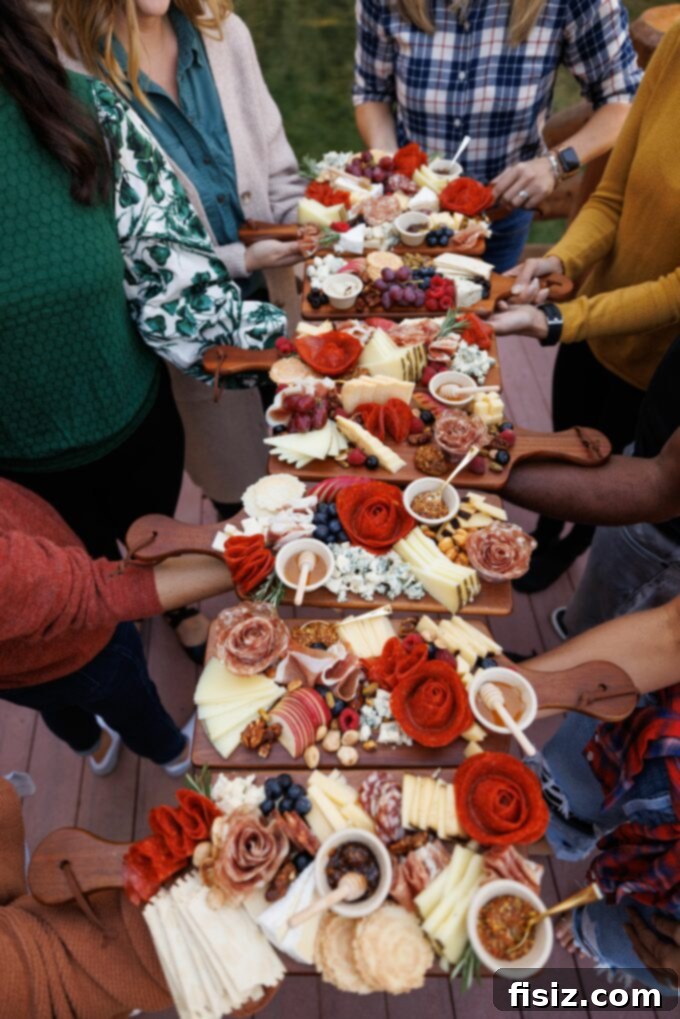
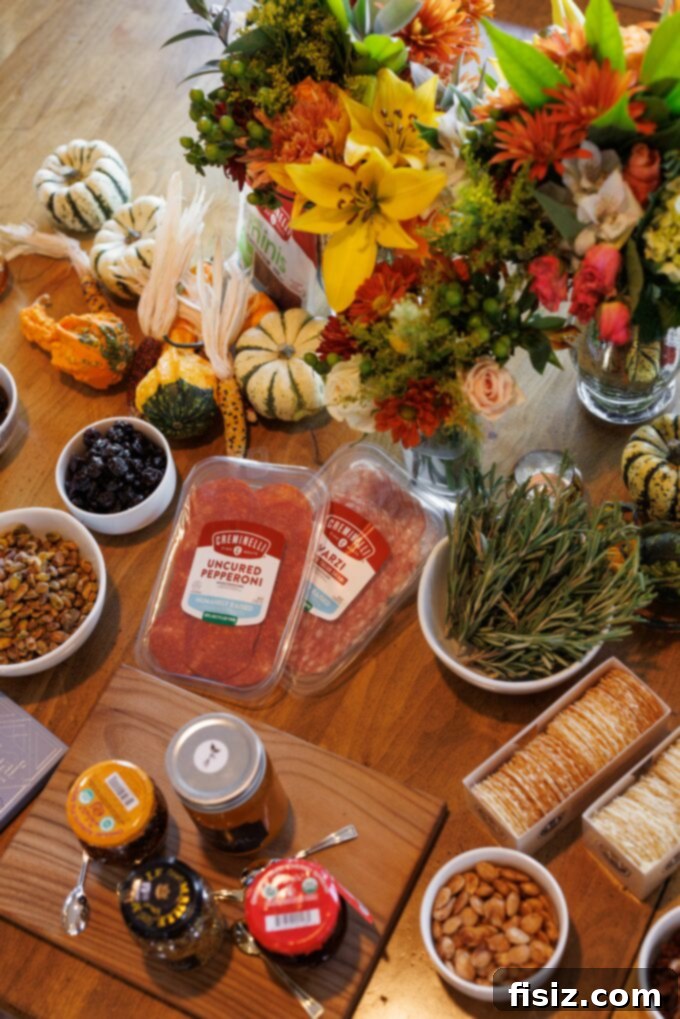
Charcuterie boards have become a staple for entertaining, offering a versatile and visually appealing way to serve an array of appetizers. From holiday celebrations to casual get-togethers, these curated platters are a surefire hit. I personally adore crafting them for various occasions, like my popular Thanksgiving Brunch and Valentine’s Day charcuterie boards, which always receive rave reviews. They are quick to assemble, inherently festive, and incredibly fun to design. A well-composed board, featuring a delightful mix of cheeses, fresh fruits, vibrant berries, gourmet chocolates, crispy biscuits, an assortment of crackers, sweet candies, flavorful dips, and premium cold cuts, can effortlessly turn a simple wooden platter into a culinary masterpiece.
However, the true magic of a charcuterie board lies in its presentation. It’s an artistic endeavor that demands careful consideration of color, texture, shape, and size to create a harmonious and inviting display. While fruits, berries, and sweets often boast bright colors and intriguing textures that make for easy placement, and dips are a breeze with beautiful serving bowls, deli meats can sometimes pose a creative challenge. Traditionally, they’re laid out in neat, sometimes monotonous rows. But with their rich pink and red hues, cold cuts are practically begging for a touch of imagination. This is precisely where the elegant **salami rose** comes into play. Say goodbye to uninspired meat platters and infuse your next board with a blossoming, rosy flair that will captivate your guests.
What Exactly Is a Salami Rose?
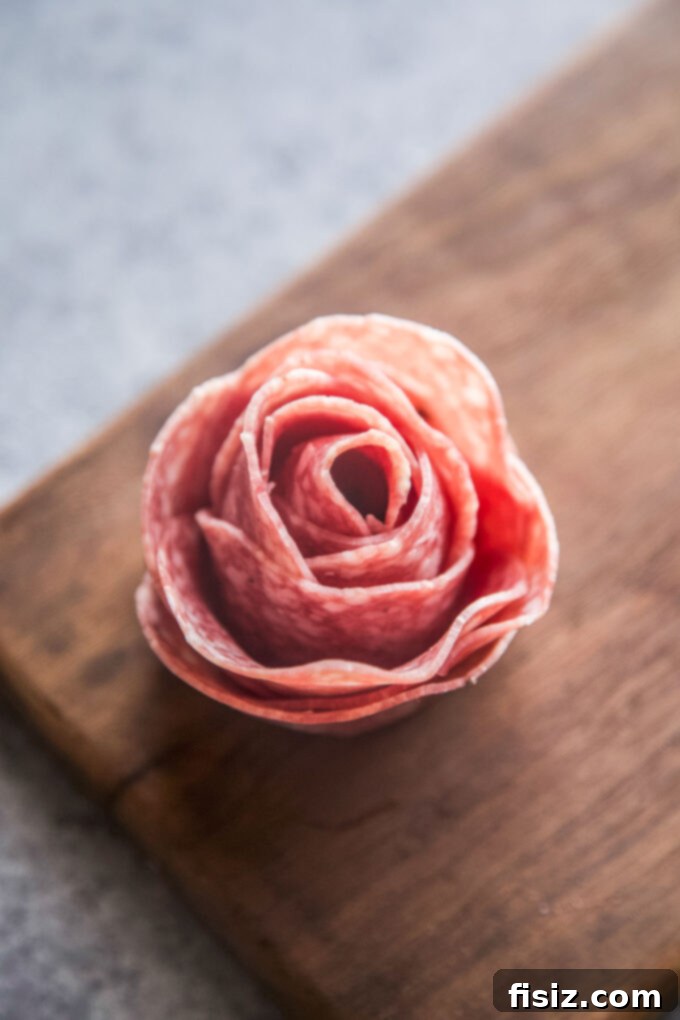
A salami rose is a delightful and decorative technique that transforms thinly sliced salami into the exquisite shape of a blooming flower. This simple yet impressive method instantly elevates the aesthetic of any food board. While there are a few ways to achieve this beautiful presentation, I’ve discovered that using a glass is by far the easiest and most effective technique. It provides a stable base and guides the shaping process, making it accessible even for beginners. This versatile method isn’t limited to just salami; you can experiment with other types of round deli meats to create a diverse garden of edible blossoms, adding depth and variety to your spread.
Why Salami Roses Are a Must-Have for Your Next Gathering
Beyond their undeniable beauty, salami roses offer several compelling reasons to incorporate them into your culinary repertoire. First and foremost, they are an incredible visual anchor on any charcuterie or grazing board. They add a sophisticated, handcrafted touch that makes your entire spread feel more luxurious and thoughtfully prepared. Secondly, they are surprisingly simple to create, requiring no specialized tools or complex techniques. With just two basic items – deli meat and a glass – you can craft these edible masterpieces in minutes, saving you precious time when preparing for guests. Thirdly, salami roses allow for creative expression. You can vary their size, use different types of meat, and arrange them in countless ways to match the theme or occasion of your event. Finally, they provide an organized and elegant way to present cold cuts, making them easier for guests to pick up and enjoy. This small detail can significantly enhance the overall guest experience, making your food presentation truly memorable.
Essential Tools and Ingredients for Your Salami Roses
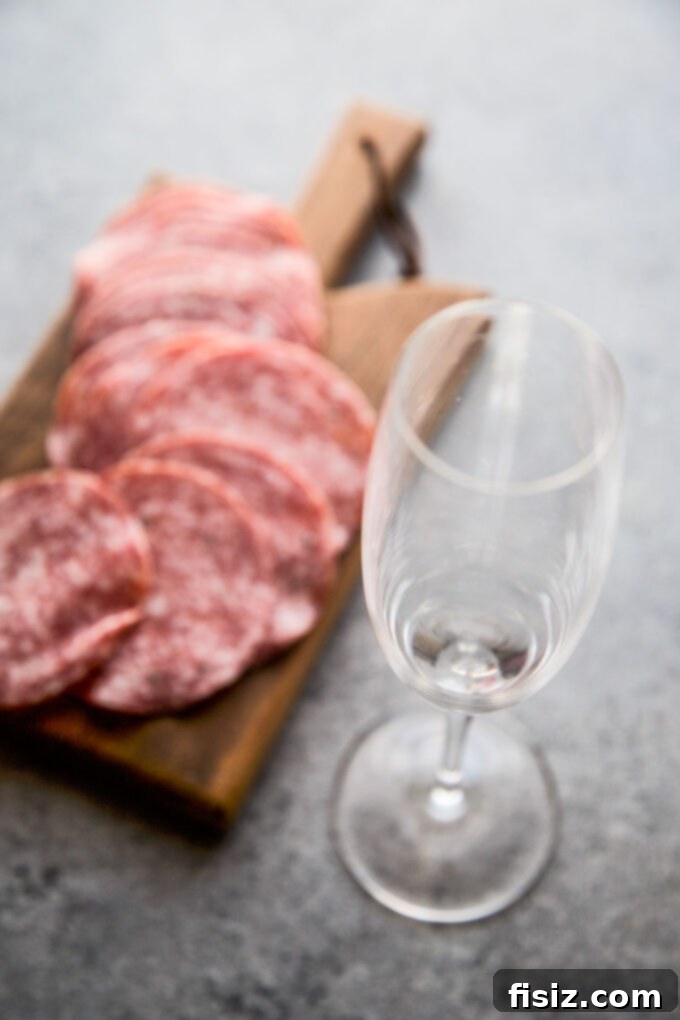
You might be surprised at how few items are needed to create these fancy meat flowers. Forget about skewers, toothpicks, or complicated twine arrangements – the roses will naturally hold their shape with remarkable stability. All you truly need are two simple things: quality salami slices and a suitable glass.
- Premium Salami or Deli Meat: The foundation of your rose is, of course, the meat itself. For the best results, select salami that is sliced thinly and uniformly. This ensures pliability and allows for even layering, which is crucial for a beautifully formed rose. While classic salami is a fantastic choice, feel free to experiment with other round deli meats like Chorizo, Soppressata, or Pepperoni. The key is to choose meats that are flexible enough to fold without tearing. For an exceptional taste and texture, I highly recommend using Creminelli Fine Meats. Their artisanal cured meats are renowned for their quality and rich flavor, making them a truly delicious and impressive addition to any charcuterie board.
- Your Choice of Glassware: The type and shape of glass you choose will directly influence the size and appearance of your finished salami rose. Wine glasses, with their typically wider rims, will yield larger, more dramatic flowers, perfect for making a bold statement on your board. Champagne flutes, on the other hand, with their narrower openings, are ideal for crafting smaller, more delicate roses that can fill in gaps or create intricate patterns. Opt for glasses with a slightly curved bowl, as this natural curvature helps the meat slices achieve a realistic, petal-like appearance, giving your roses an authentic, organic feel. A clear glass is also beneficial, allowing you to easily see the layers as you build your rose, ensuring symmetry and fullness.
Crafting the Perfect Salami Rose: A Step-by-Step Guide
Becoming a salami rose expert is surprisingly quick and enjoyable with this straightforward technique. It’s a fantastic activity to do with children, transforming it into a fun and creative family bonding session. Let’s get started and create some beautiful edible blooms!
Preparation is Key: Ensuring Pliable Salami
Before you begin, ensure your salami slices are pliable. If your salami has been frozen, remember to thaw it overnight in the refrigerator. Once thawed, slicing it thinly while still firm can make the process easier. Then, allow the slices to sit at room temperature for a few minutes before you start. This flexibility is crucial for the meat to bend and hold its shape without breaking, leading to a perfectly formed rose.
Step-by-Step Instructions:
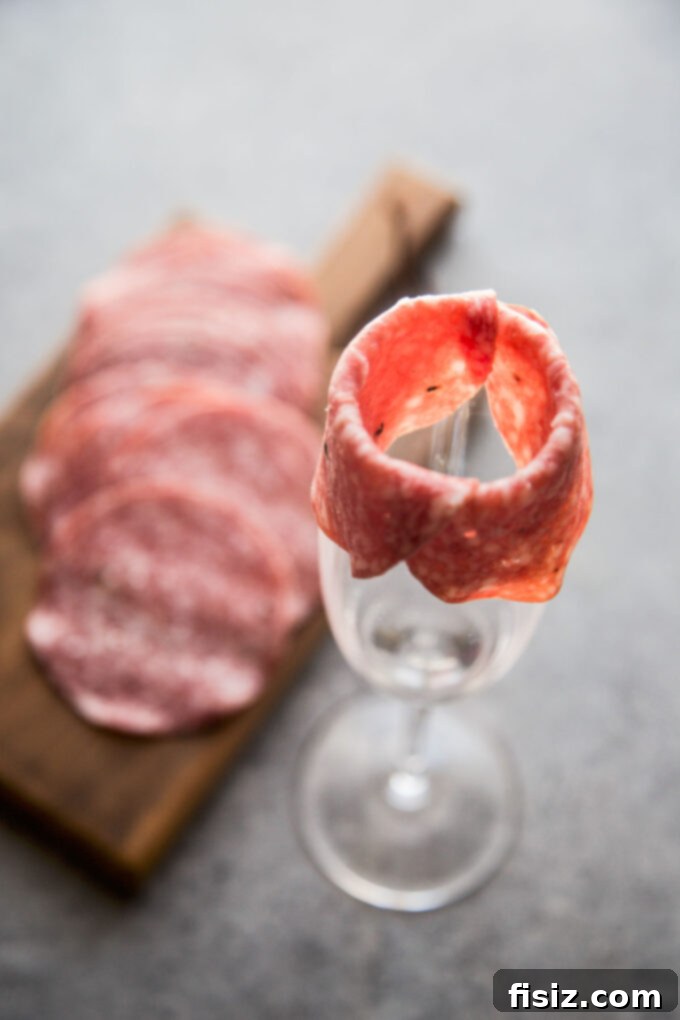
- Set Up Your Glass Foundation: Begin by placing your chosen wine or champagne glass securely on your countertop. Take a single slice of salami and fold it precisely in the middle. Gently drape this folded slice over the rim of the glass. The central fold of the salami should rest directly on the glass rim, with both halves hanging down equally on either side. This forms the innermost petal of your rose.
- Begin Layering the Petals: Pick up a second slice of salami and fold it in the same manner. Position it so it partially overlaps the first slice. Aim for an overlap of at least a quarter to half of the previous slice. Visualize this process as connecting two circles, much like a Venn diagram, where each new slice shares a significant portion with the one before it. The goal is to build a continuous ring of petals around the glass rim.
- Complete Your Initial Layers: Continue this overlapping process with additional salami slices until you have completed approximately two full layers of petals around the entire circumference of the glass. Maintain consistent overlap for these outer layers to create a uniform and full base for your rose.
- Forming the Inner Core and Tightening: As you transition into the third round of layering, begin to bring the overlapping sections of the salami slices a bit closer together. This gradual tightening creates the dense, beautiful core of the rose. Continue to overlap them more tightly as you move towards the center. This step allows you to control the fullness and tightness of your rose – you decide how open or closed you want your petals to appear.
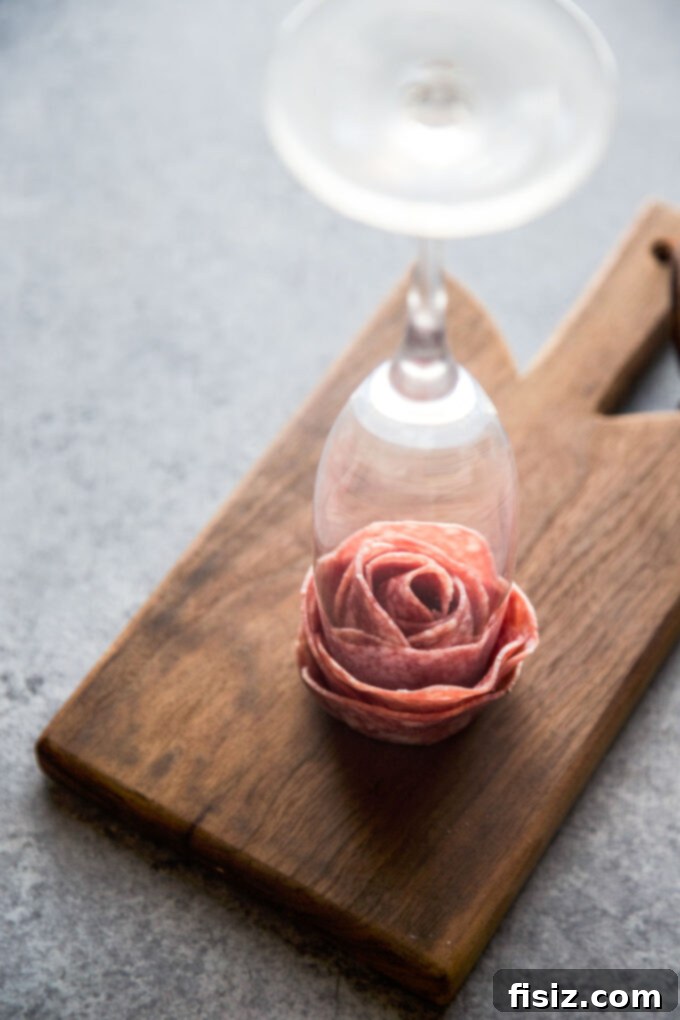
- Revealing Your Salami Rose: Once you are satisfied with the layering and there are no visible gaps or holes in the center of your rose, gently place the palm of your hand or a small plate firmly over the top of the assembled salami slices. With careful precision, invert the wine glass. If the salami rose doesn’t immediately dislodge, gently twist the glass while continuing to hold the rose down with your hand or plate, then slowly pull the glass away. You will be left with a stunning, beautifully formed salami rose, ready to be showcased on your charcuterie board, transforming it into an edible work of art.
Helpful Tips & Advanced Techniques for Perfect Salami Roses:
- Pliability is Paramount: As mentioned, the success of your salami rose hinges on the pliability of the meat. If your salami feels stiff or is difficult to fold, let the slices sit at room temperature for a few extra minutes. This minor adjustment can make a significant difference in how easily and beautifully your petals form.
- Size Matters: Glass and Salami: Remember that the larger the rim of your chosen glass, the larger and more expansive your finished salami rose will be. Keep this in mind when planning your charcuterie board and purchasing your deli meats. A large rose requires more salami slices to achieve fullness.
- Varying Your Roses with Different Glasses: Don’t be afraid to experiment with different-sized glasses to create a variety of roses. Smaller glasses, like shot glasses or liqueur glasses, are perfect for crafting miniature roses, especially when working with smaller-diameter meats like pepperoni. This adds visual interest and allows for more intricate board designs.
- The Advantage of Clear Glass: Using a clear, smooth glass makes the process much easier. It allows you to clearly see the layers forming inside, helping you to achieve a nicely proportioned and symmetrical flower.
- Consider Salami Thickness: While thin slices are generally best, ultra-thin, almost transparent slices can sometimes tear. Aim for a thickness that offers flexibility without being flimsy.
- Troubleshooting a Collapsing Rose: If your rose seems to be falling apart after removing the glass, it might be due to insufficient overlap or the salami not being pliable enough. Try again, ensuring each slice significantly overlaps the previous one, and consider allowing the salami to warm up a bit more.
Styling and Add-on Ideas for Your Exquisite Salami Roses!
While salami roses are undeniably charming on their own, a few thoughtful embellishments can elevate them from pretty to absolutely breathtaking. Here are some creative styling ideas to truly amp up your charcuterie board and make your salami roses shine:
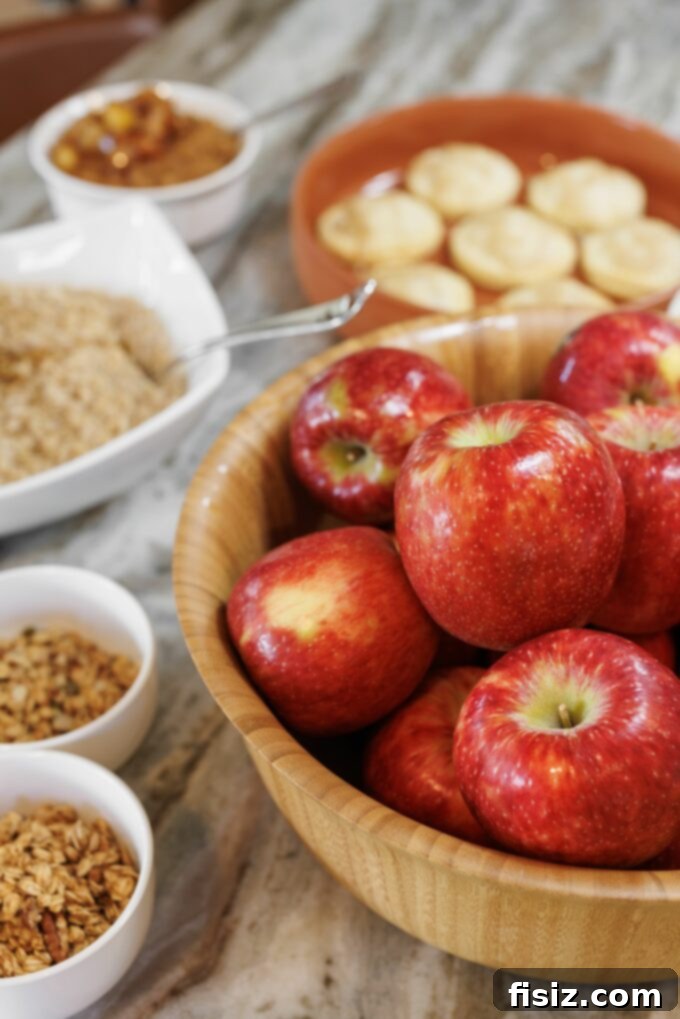
- Fresh Produce for Contrast: Introduce fresh, crisp elements. For a delightful crunch and a burst of complementary flavor and color, consider adding JUICI Apples from Starr Ranch Growers. Their sweet-tart profile and vibrant hues will beautifully contrast with the savory richness of the salami. Arrange thinly sliced apple wedges around the roses or interspersed throughout the board.
- Herbal Accents for a Natural Touch: Give your salami roses a more enticing and natural look by placing fresh herbs beneath or around them. Basil or mint leaves add a lovely green pop and aromatic freshness. For a more rustic or festive feel, small sprigs of rosemary or thyme work wonderfully, providing both visual appeal and a pleasant scent.
- Interspersed Cheese Petals: For an extra layer of color, texture, and flavor, place thin slices of cheese in between the salami petals as you build your rose. White cheddar, provolone, or even a soft goat cheese can create a stunning multi-dimensional flower.
- Elegant Crystal Bowls: Presenting your individual salami roses in small, elegant crystal bowls adds a dash of sophistication and makes them feel like miniature culinary treasures. This is perfect for a more formal setting or for offering individual servings.
- Charming Cupcake Liners: If you’re planning to serve your salami roses as individual appetizers, especially at a buffet or party where guests will be mingling, place them in cute cupcake or muffin liners. This makes them incredibly easy for guests to pick up and carry, while also adding a charming touch to your presentation.
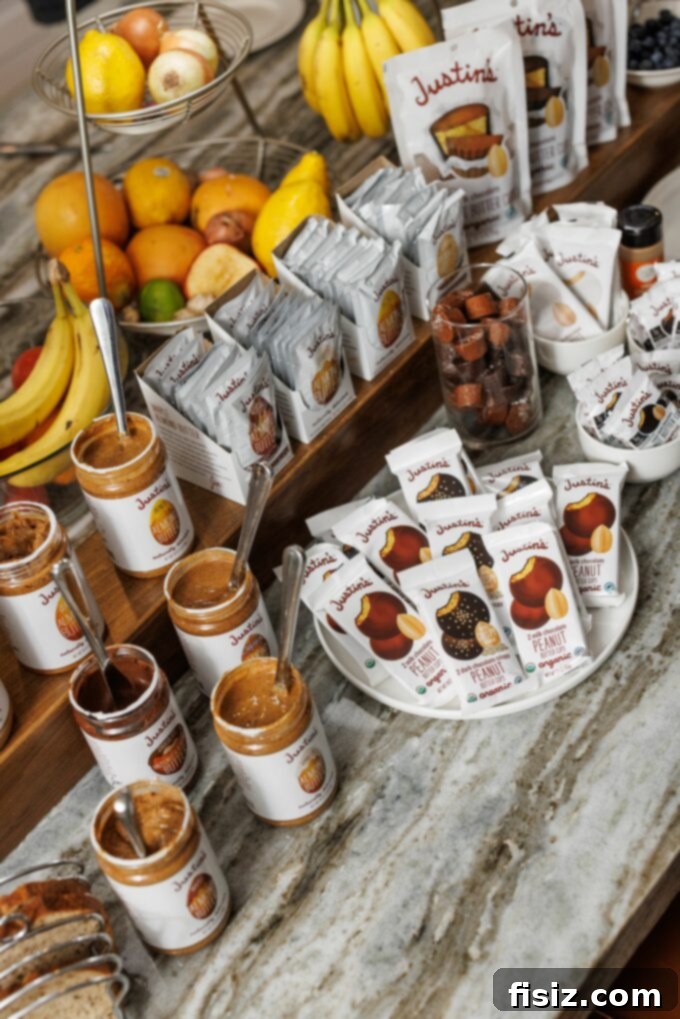
- Sweet Pairings with Nut Butters: Balance the savory notes of the salami with a touch of natural sweetness. An assortment of nut butter cups from Justin’s can be a fantastic addition. Their Mini Dark Chocolate Peanut Butter Cups are particularly recommended for a delightful flavor contrast that guests will love.
Frequently Asked Questions About Salami Roses
Here are answers to some common questions that often arise when crafting and serving salami roses:
- Do I need to cook the salami first? No, there’s absolutely no need to cook the salami. Most salami varieties purchased from delis or grocery stores are pre-cooked, cured, and ready to eat as is. Simply take it out of the package, arrange your roses, and enjoy!
- Can I use other types of cured meat that are not sausages? Absolutely! The beauty of this technique lies in its adaptability. For cured meats that aren’t naturally round, such as prosciutto or some types of ham, you can use a round cookie cutter to create circular slices. This opens up a world of possibilities for creating a diverse “meat flower” garden on your board. Experiment with different textures and flavors!
- How many slices do I need to make one rose? The number of slices required will vary. It primarily depends on three factors: the size of the glass rim you’re using (larger rims require more slices), the diameter of your individual salami slices, and how full and dense you want your finished rose to be. Generally, a medium-sized wine glass might use anywhere from 10 to 15 slices for a beautiful, full rose.
- Can I make them ahead of time? Yes, you can certainly prepare your salami roses in advance! To keep them fresh and maintain their shape, simply leave them on the glass after forming. Then, carefully wrap the entire glass, with the rose still attached, in plastic wrap. Store them chilled in the refrigerator overnight. When you’re ready to serve, gently remove the plastic wrap and follow the final step of flipping and removing the glass to unveil your perfectly preserved roses.
- What is the best temperature to serve salami roses? For optimal flavor and texture, it’s best to serve salami roses at room temperature. This allows the nuanced flavors of the cured meat to fully develop and the texture to be at its most tender. If you’ve chilled them overnight, let them sit out on the counter for 15-20 minutes before placing them on your board.
- My salami is tearing when I fold it. What can I do? This usually indicates that the salami is either too cold or too thin. Ensure your salami slices are at room temperature for maximum flexibility. If they are excessively thin, they might naturally be more prone to tearing; consider using a slightly thicker cut next time.

How to Make a Salami Rose
Pin Recipe
Leave a Review »
Ingredients
- Salami, Chorizo, Soppressata, or Pepperoni (thinly sliced)
- Wine or champagne glasses
Instructions
-
Place a wine or champagne glass on the countertop. Take a slice of salami and fold it in the middle, then drape it over the rim of the wine glass. Ensure the middle of the salami circle is touching the rim.
-
Take another piece of salami, fold it, and overlap it on the first piece. Think of it as connecting two circles like a Venn diagram, ensuring a significant overlap.
-
Repeat the overlapping around the glass rim until you’ve completed about two layers. For the third round, bring the overlapping of the salami slices a bit closer together. Continue tightening as you overlap towards the center to form the rose’s core. You control how dense or open your rose petals appear.
-
Once you are satisfied with the layering and the rose is complete, place your palm or a small plate firmly on top of the assembled cuts. Carefully flip the wine glass over and gently remove it. This will leave the beautifully formed salami rose ready for display on your charcuterie board.